3D Printing Tutorial : Sculptris
Introduction
This tutorial was made for users of Sculptris interested in 3D printing. It contains the essential information to make a printable model with this 3D modeling software.
Then, you will be able to upload your 3D file on our website and 3D print it!
Sculptris is a software free artistic modeling, downloadable on the Pixologic website. Unlike traditional 3D modeling software, Sculptris begins with a predefined shape to which forms can be added, removed and (you guessed it) sculpted.
Sculptris is less complex and elaborate than its counterpart, Zbrush. This particular software is focused on artistic creation combines the advantage of being both extremely simple and accessible, but also offers realistic renderings.
Unlike traditional 3D modeling software, Sculptris is really effective in creating individual models, such as characters from movies or video games. However, it is difficult to make architectural models with this particular software.
You do not need to be an expert or know the software in detail to understand this tutorial. However, it is important to master the basic elements and main functions of the software first.
To learn more about modeling with Sculptris, please visit the Pixologic . You can also find tutorials dedicated to Sculptris on Youtube.
3D Modeling for 3D printing with Sculptris
1.1. Modeling your object
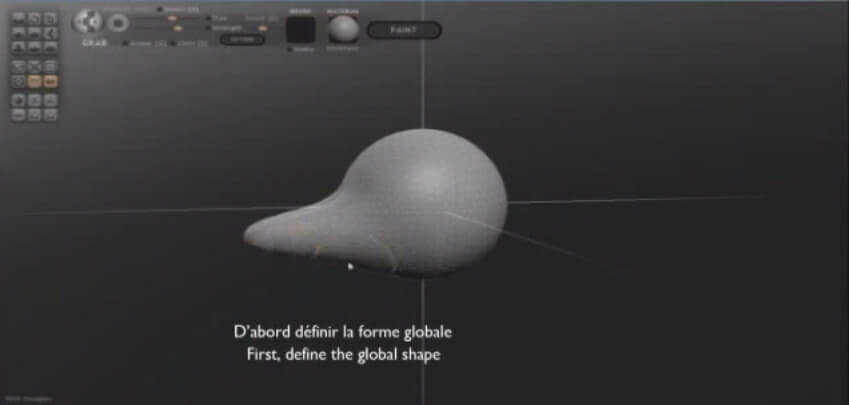 Keyboard shortcuts allow you to move faster and more efficiently, allowing you to view the picture from different angles, to go back and to change the characteristics of tools, etc.
- Shifting tool: G
- Wireframe View: W
- Camera Rotation: Left Click + Alt
- Zoom: Mouse Roller OR +/- on the numpad
- Lateral Camera Displacement: Left Click + Shift + Alt
- Undo: Ctrl + Z
- Scale tool: T
- Rotation Tool: R
- Smooth Tool: Touch B / Hold Shift while using another tool
- Save As: Ctrl + Shift + S
- Increase / decrease the thickness of the brush: Ctrl + Mousewheel (or +/- on the numpad)
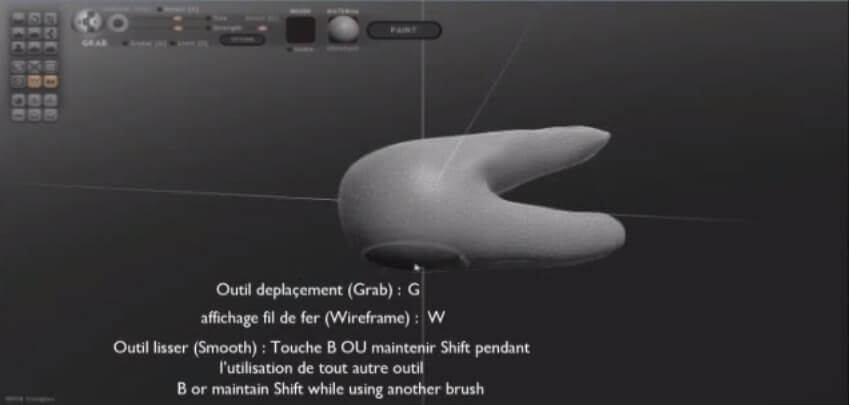
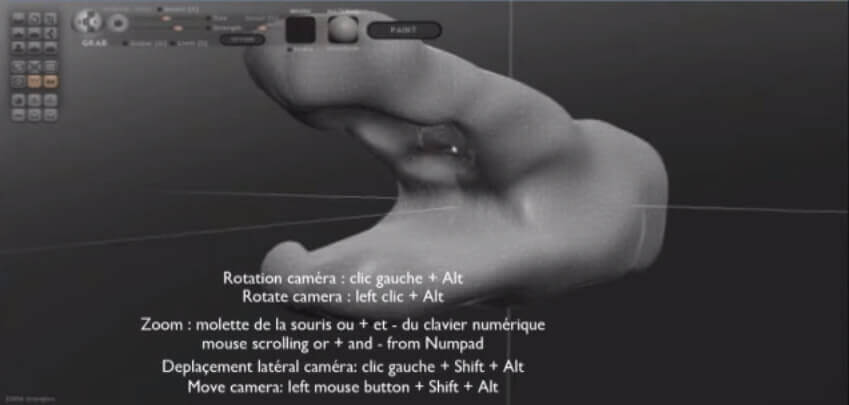
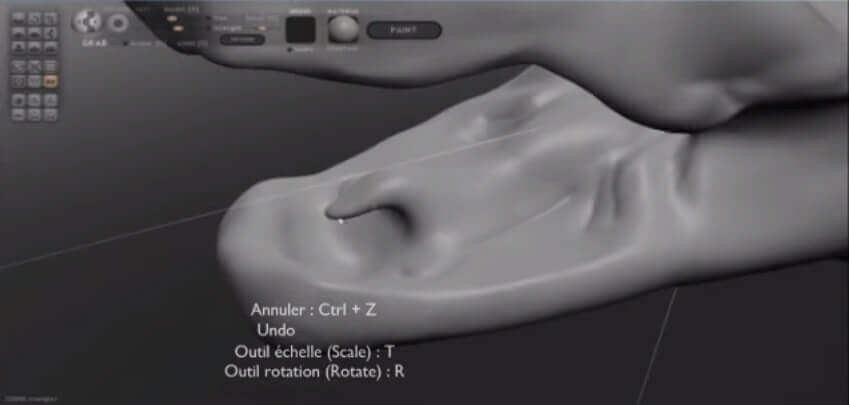
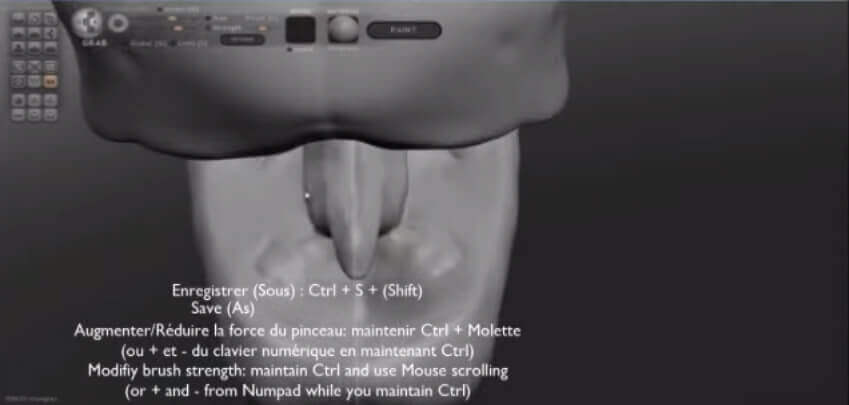 Once the overall shape is created, you can begin to carve. This may involve digging (the skin of the T-REX) or making protrusions (such as teeth).
- Draw Tool: D
- Enlarge Tool: C
- Carve Tool: E
- Flatten Tool: F
- Pinch Tool: V
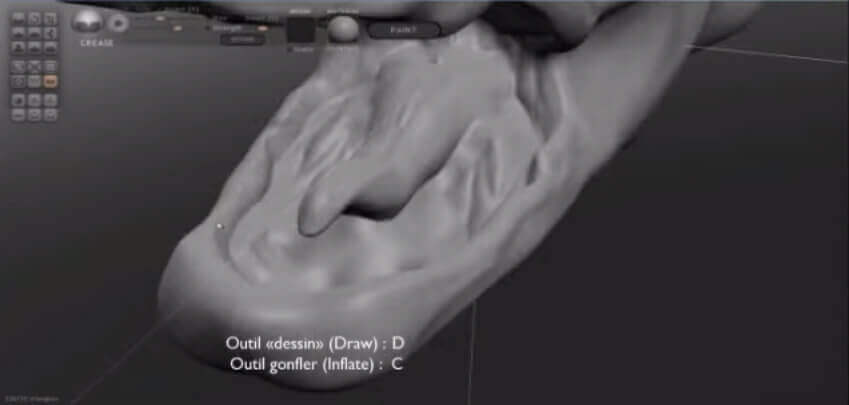
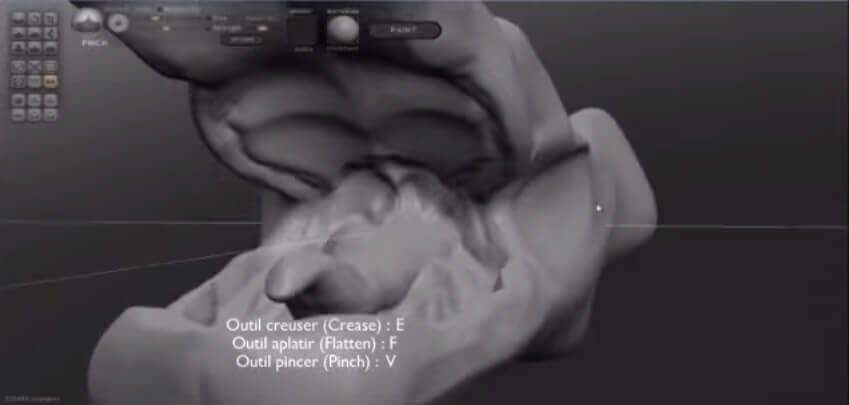 It is possible to reduce the size of the brush for more precision. To do this, hold Shift and the mouse wheel (or the +/- keys on the numpad)
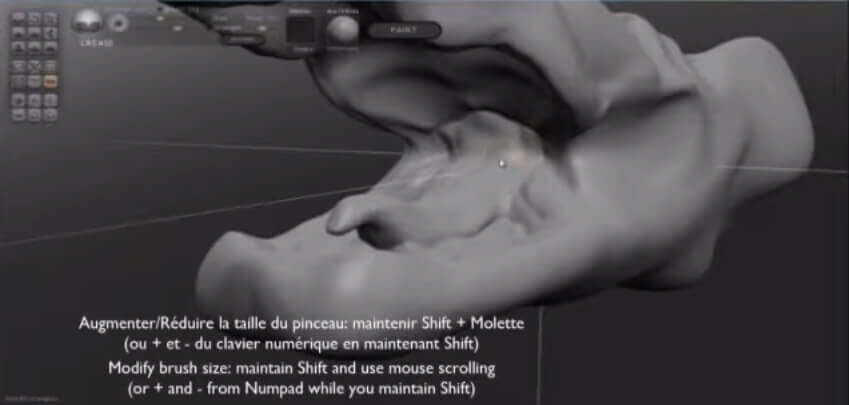 To create the eyes, we should start by making the eye sockets. They don’t need to be perfect, the actual eye will mask the flaws.
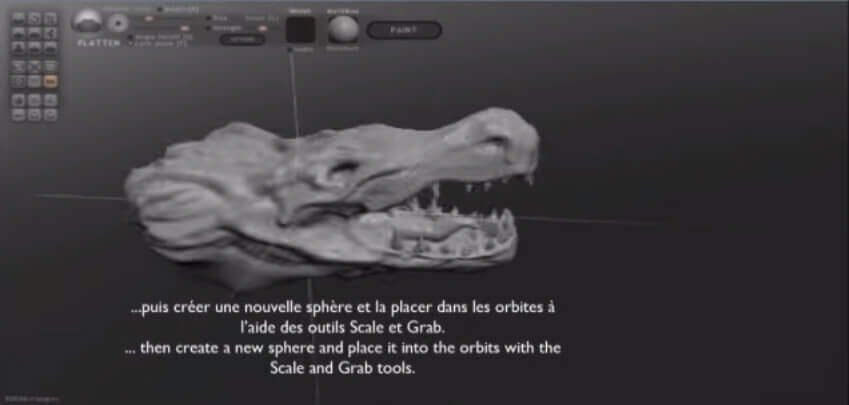
Then, create a new sphere and select the tools “Scale & grab” to give it the desired size. Finally, place it in the socket.
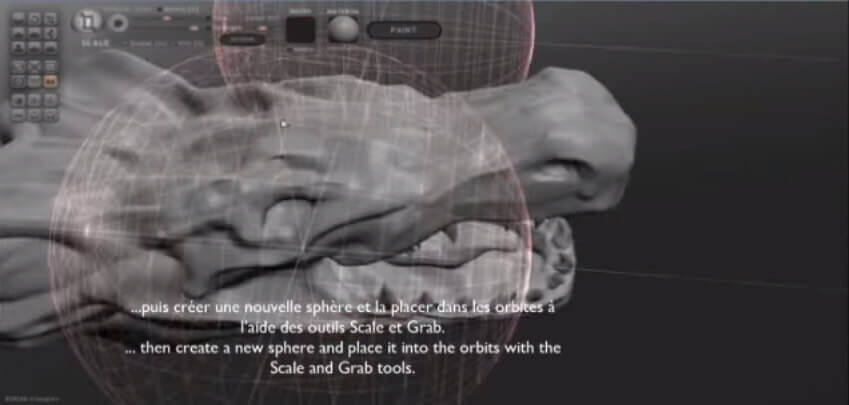
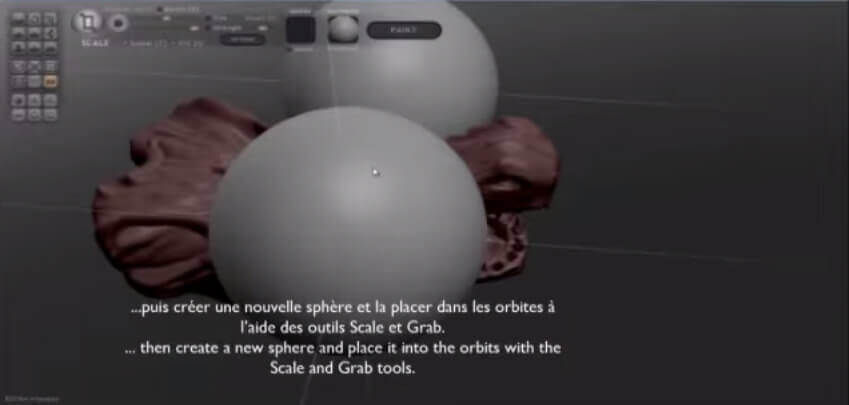 The number of triangles may rise considerably as you model is adjusted. You can keep track of this in the bottom left of the screen. The more triangles, the larger the file. Larger files will influence exporting and transferring processes.
For highly detailed models (like figurines), 300 000 à 400 000 triangles are amply sufficient to obtain a good quality 3D print. Beyond that, your file will be extremely heavy and there will not be a noticeable difference in the print.
For more information on print resolutions and constraints to be considered based on the printing material, we invite you to visit our Material Page.
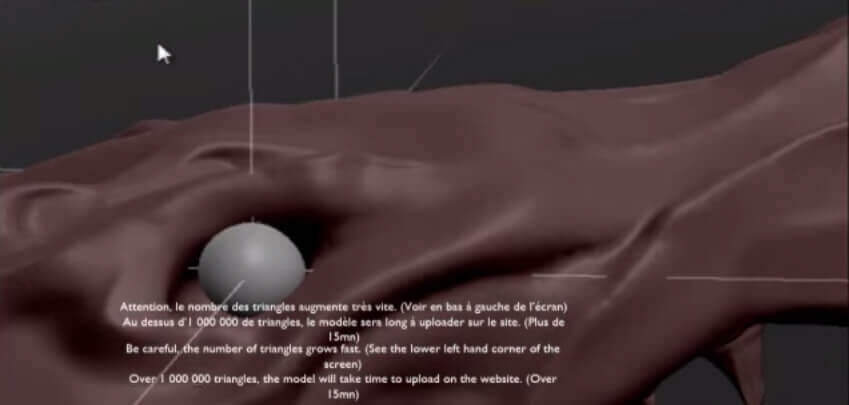 Once the sphere placed in its socket, it is possible to continue working on the rest of the model.
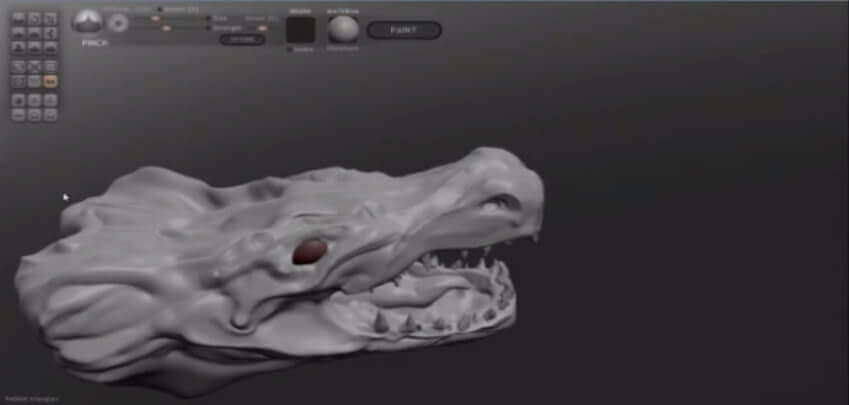
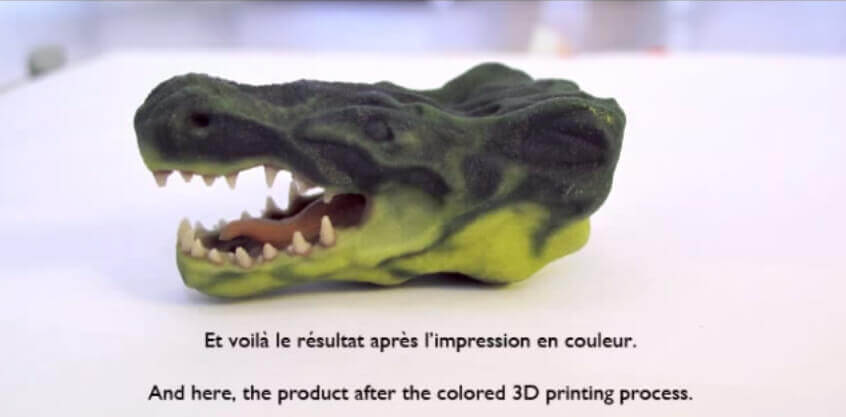
Below is the final shape of the head.
1.2. Adding Texture and Color to your 3D model
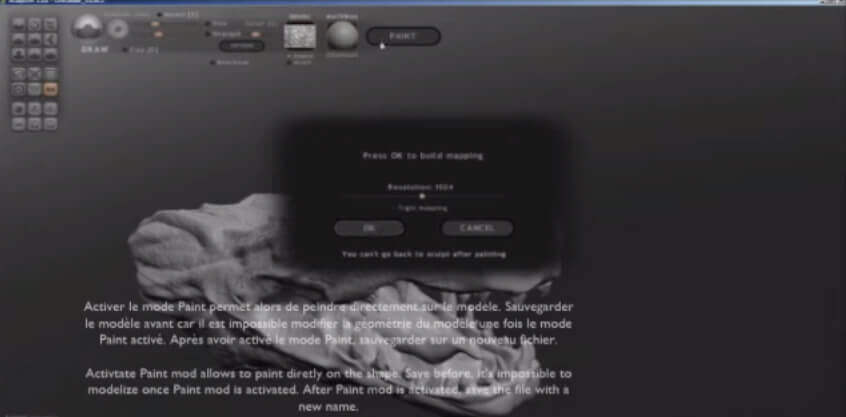
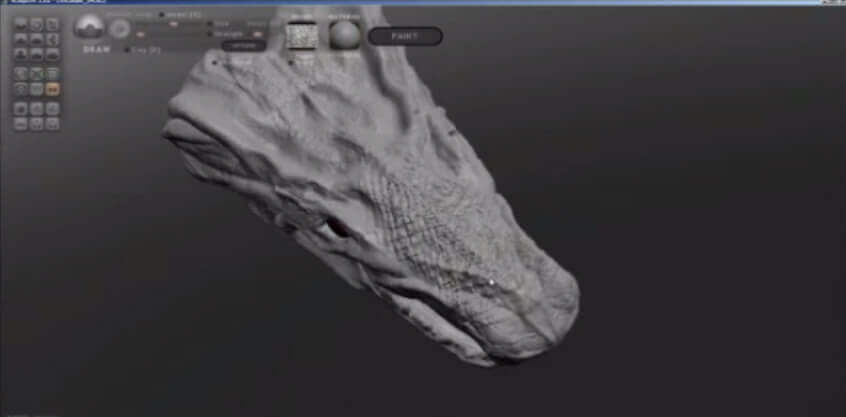 Then you can paint the 3D model by selecting the “Paint” mode. Once you’ve chosen a color, cover areas as you choose. In the same way as the rest, the brush can be shrunk or expanded depending on the area.
Caution! Activating “Paint” mode is irreversible. It will not be possible to change the model geometry after activating the texture change mode. We recommend that you make a backup beforehand and create a new file containing color.
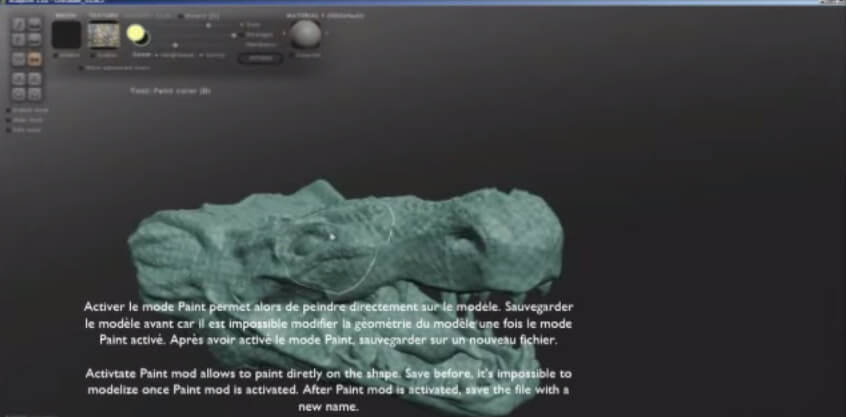 Be sure to paint the entire surface of the model and that no portion is left textureless. For this, we advise to first paint the entire surface a single, solid color, then superimpose other colors.
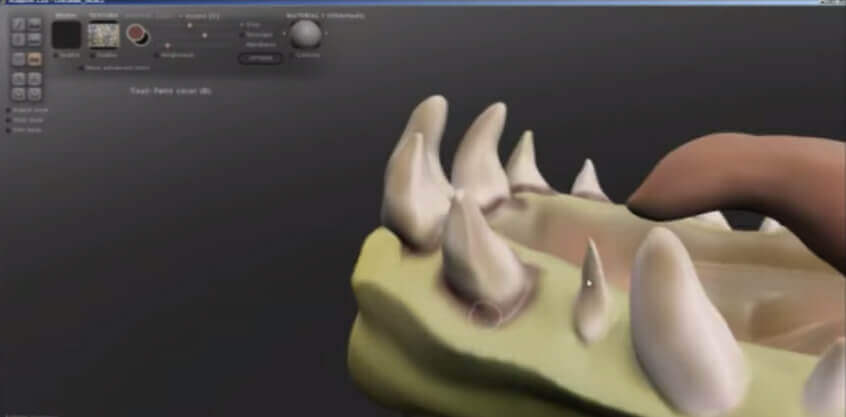 Once your model is painted, it’s ready to be exported.
 Manage and export valid 3D files for 3D printing from Sculptris
2.1. Analyze and measure your 3D model
Sculptris lacks features that are available in more advanced programs, such as its counterpart ZBrush. This software is unable to do any analyzing, measuring or resizing of your model.
To actually perform these actions, you can use Blender. Just export your file as a .obj and import it into Blender. For more information on using Blender for 3D printing, please see our tutorial Prepare your file for 3D printing with Blender.
2.2. Export your model for a 3D Print
- Exporting the Texture
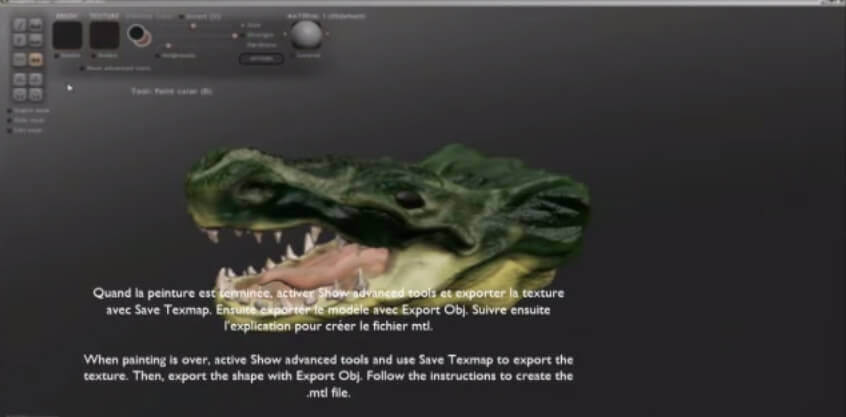
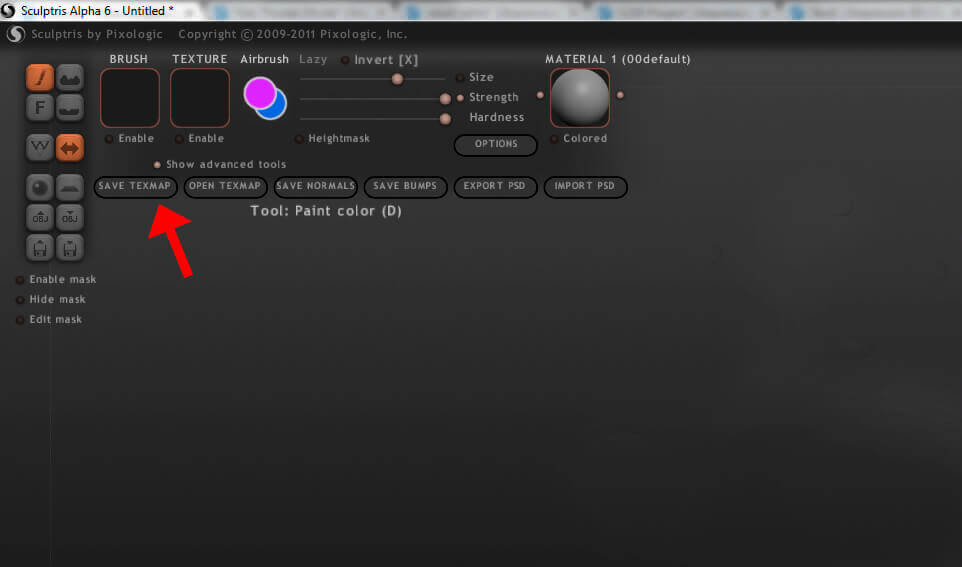
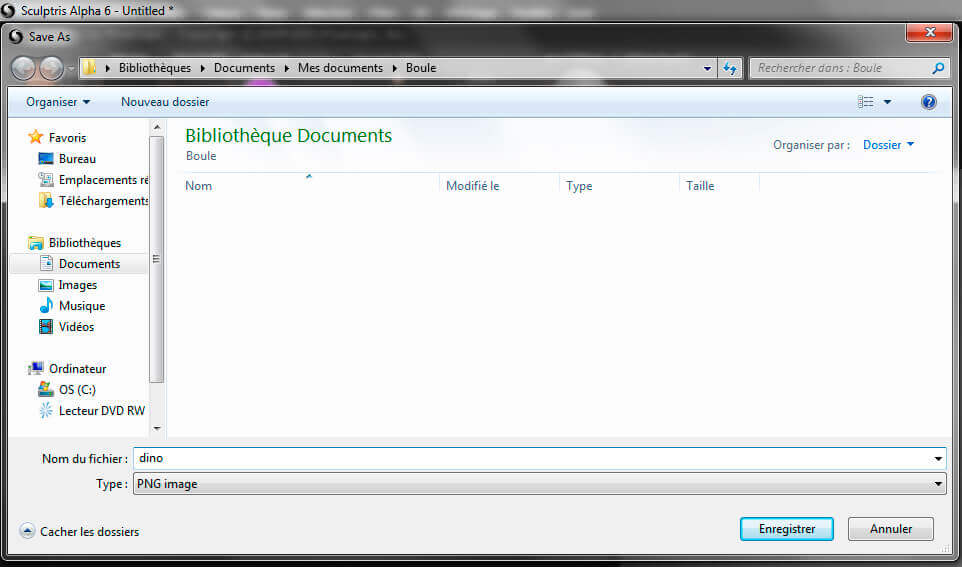
- Exporting the Model
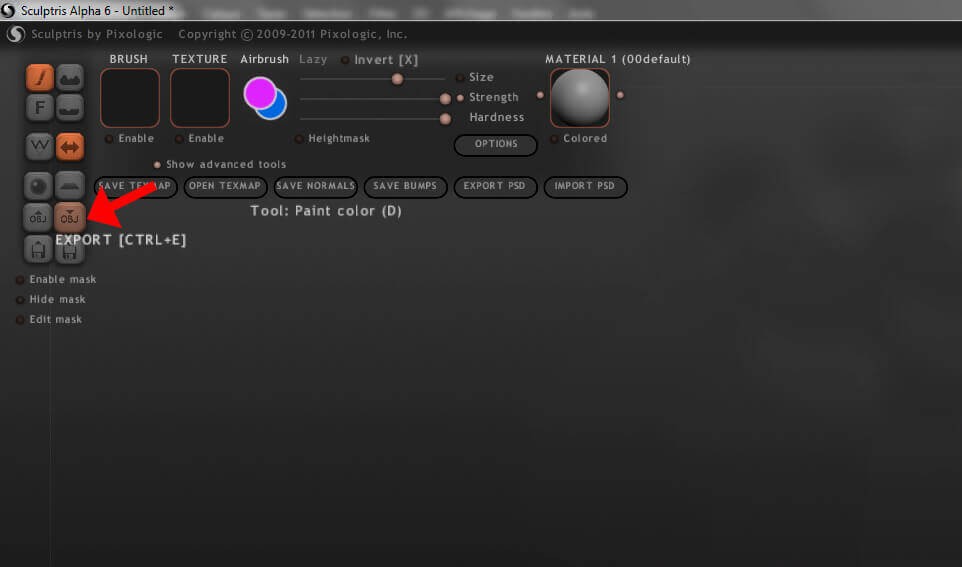
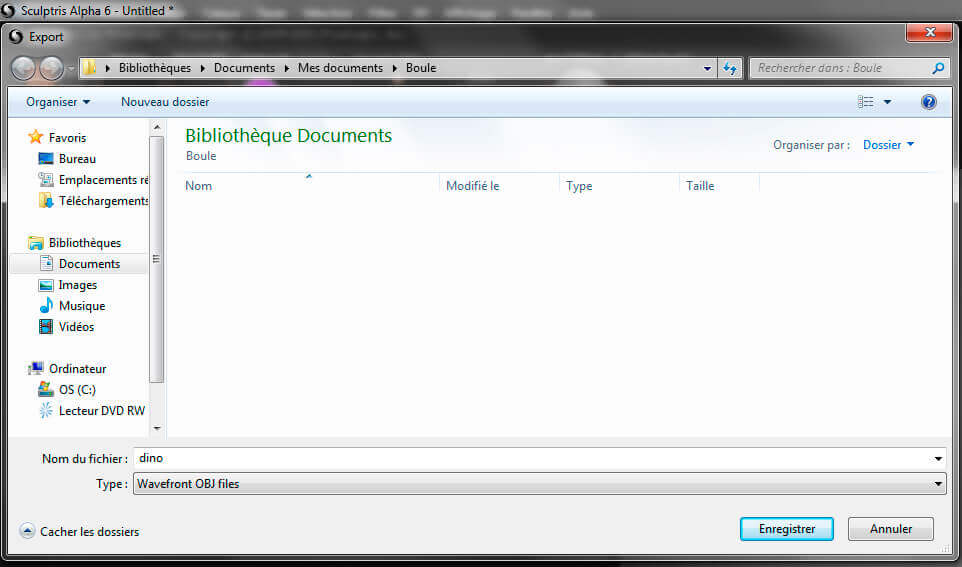 Now, on to the creation of the .mlt file. This file will serve as a connection between the texture and your 3D model. In other words, in the absence of this file, the computer will not know where to apply the texture (.png) to the 3D model (in .obj).
First, go to the folder that contains the dino.png and dino.obj. Open the document “dino.obj” in a text editor like this:
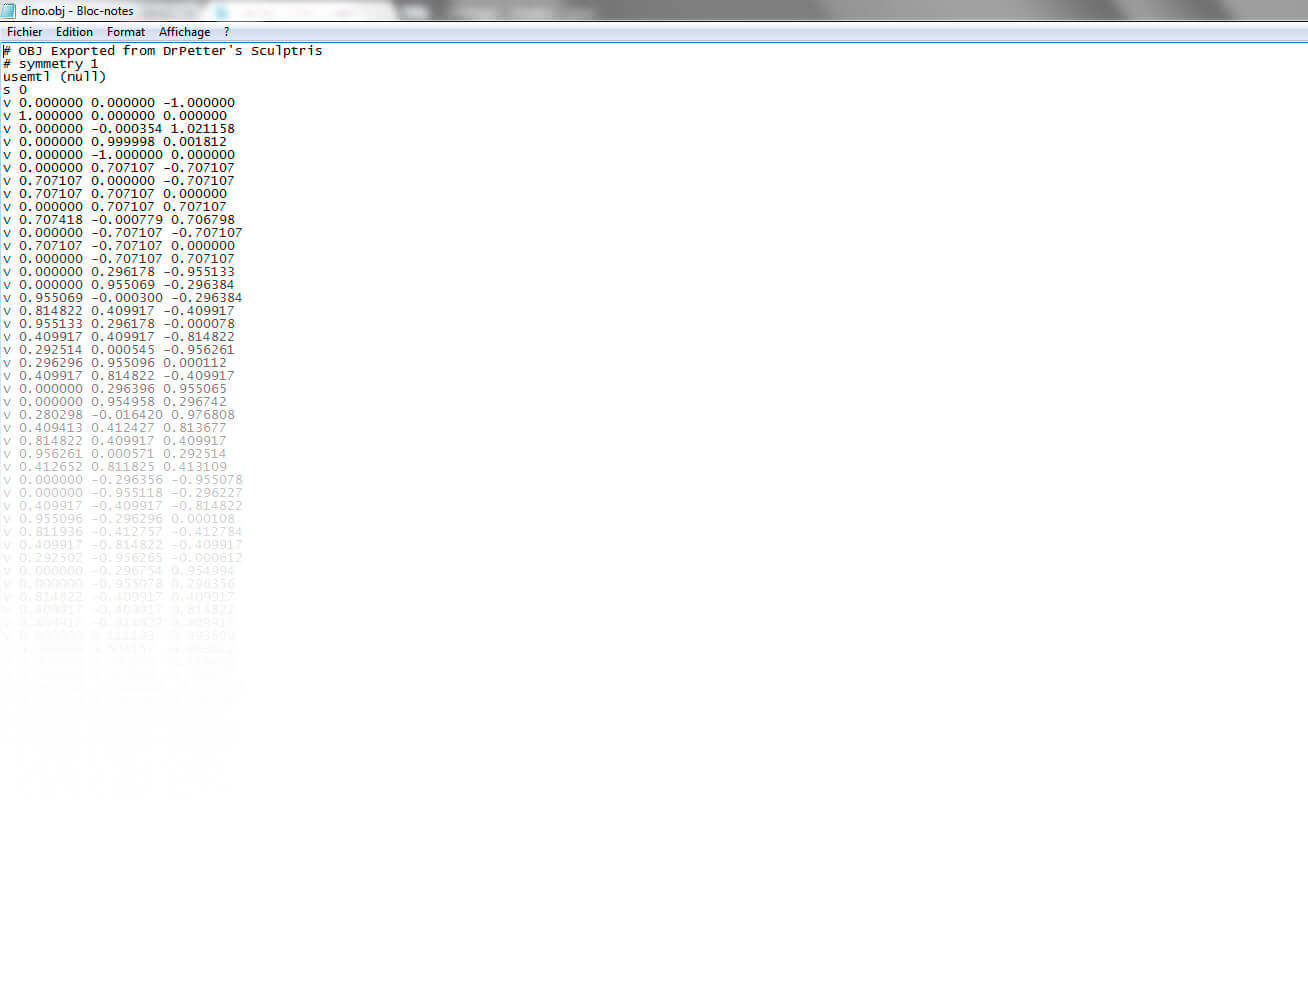 Then add on top of the text the following two lines of code:
mtllib./MON_MODEL.mtl
usemtl material_0
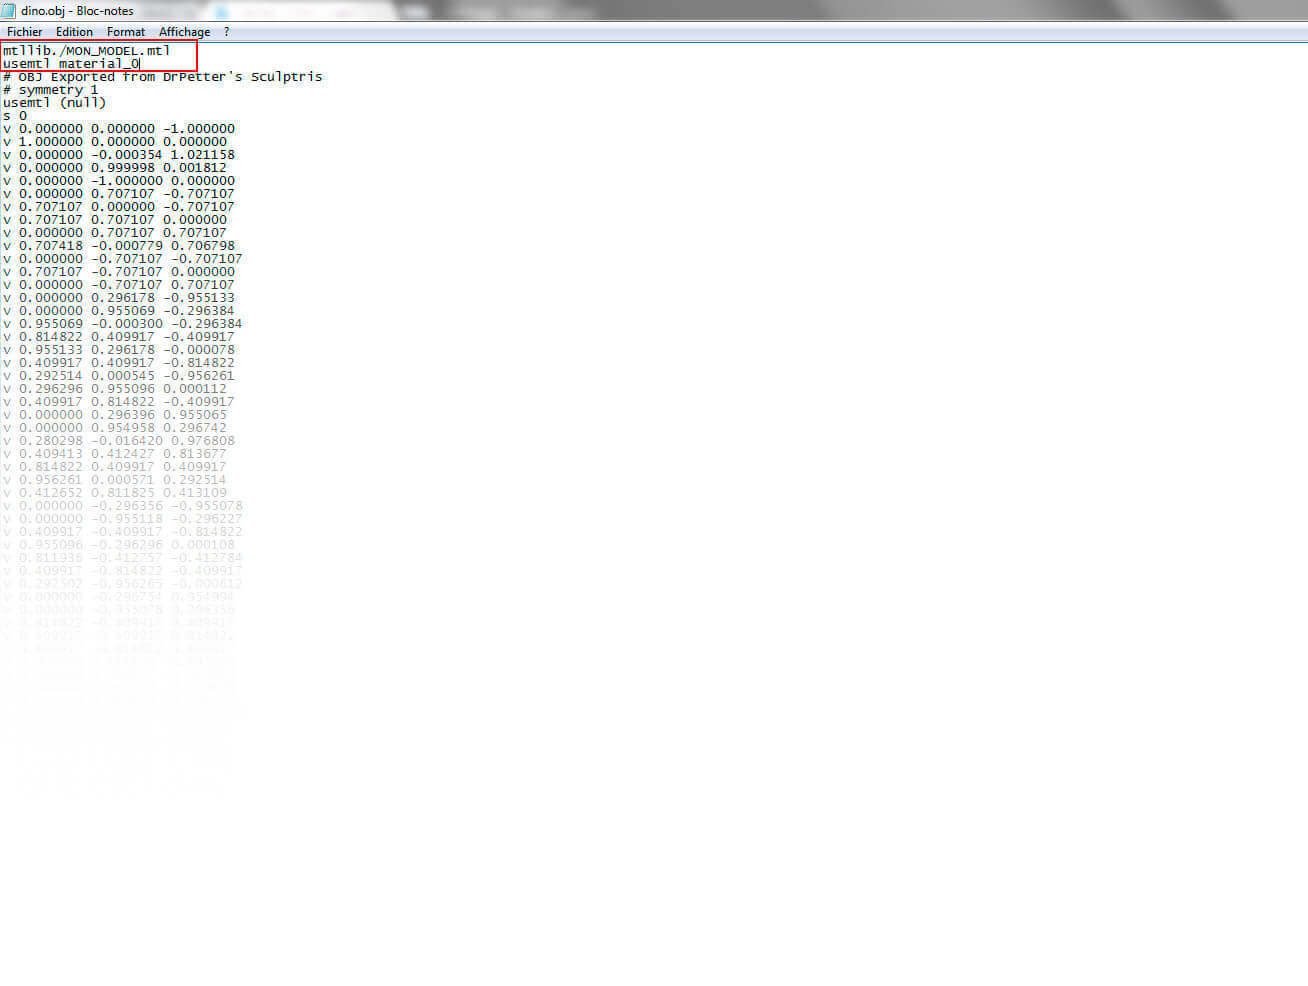 Then delete the line “usemtl (null)”
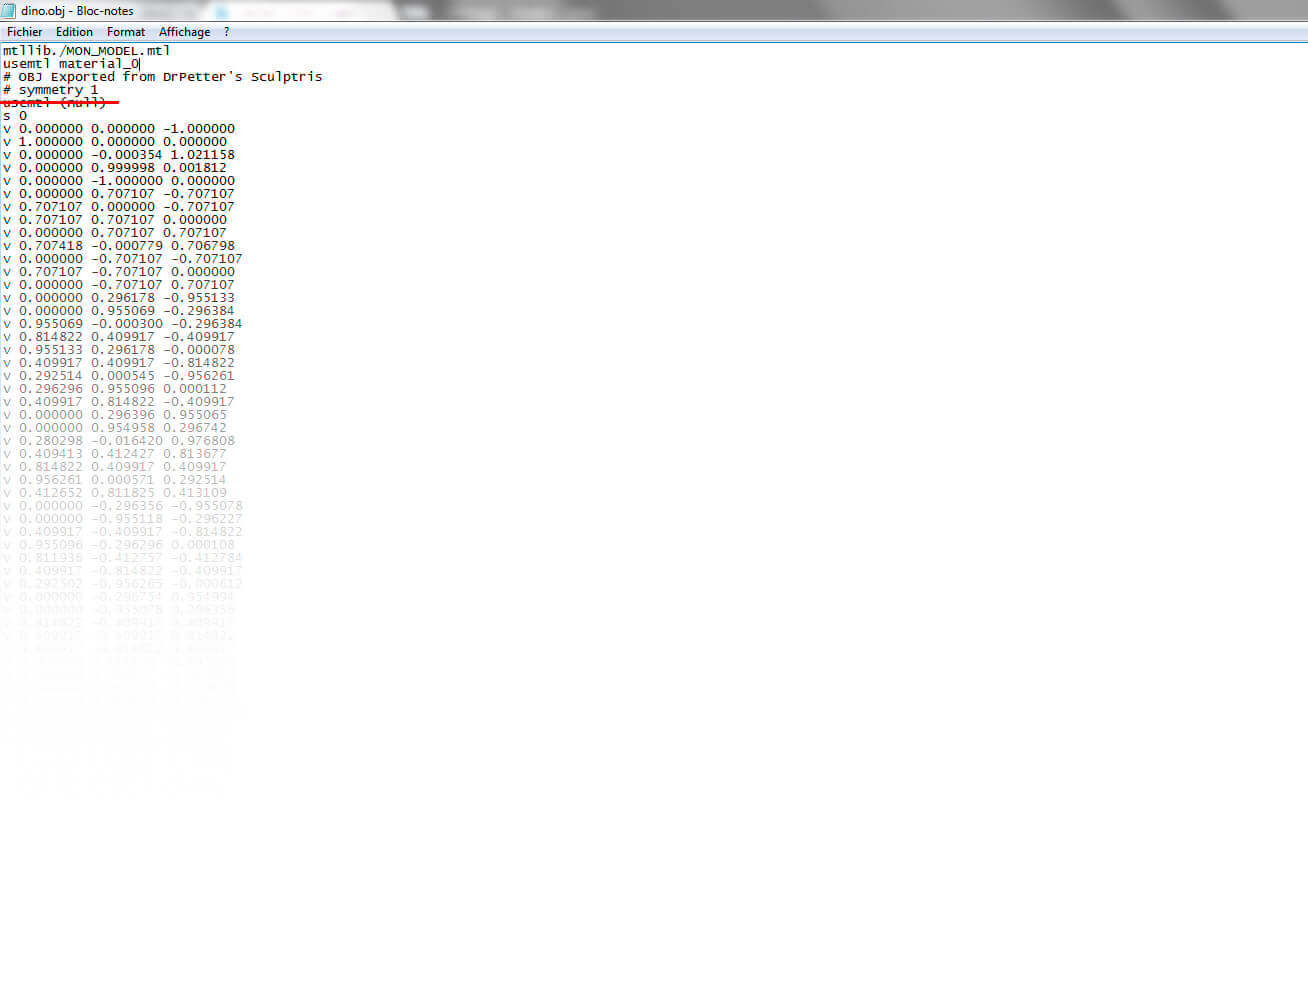 That will give you this:
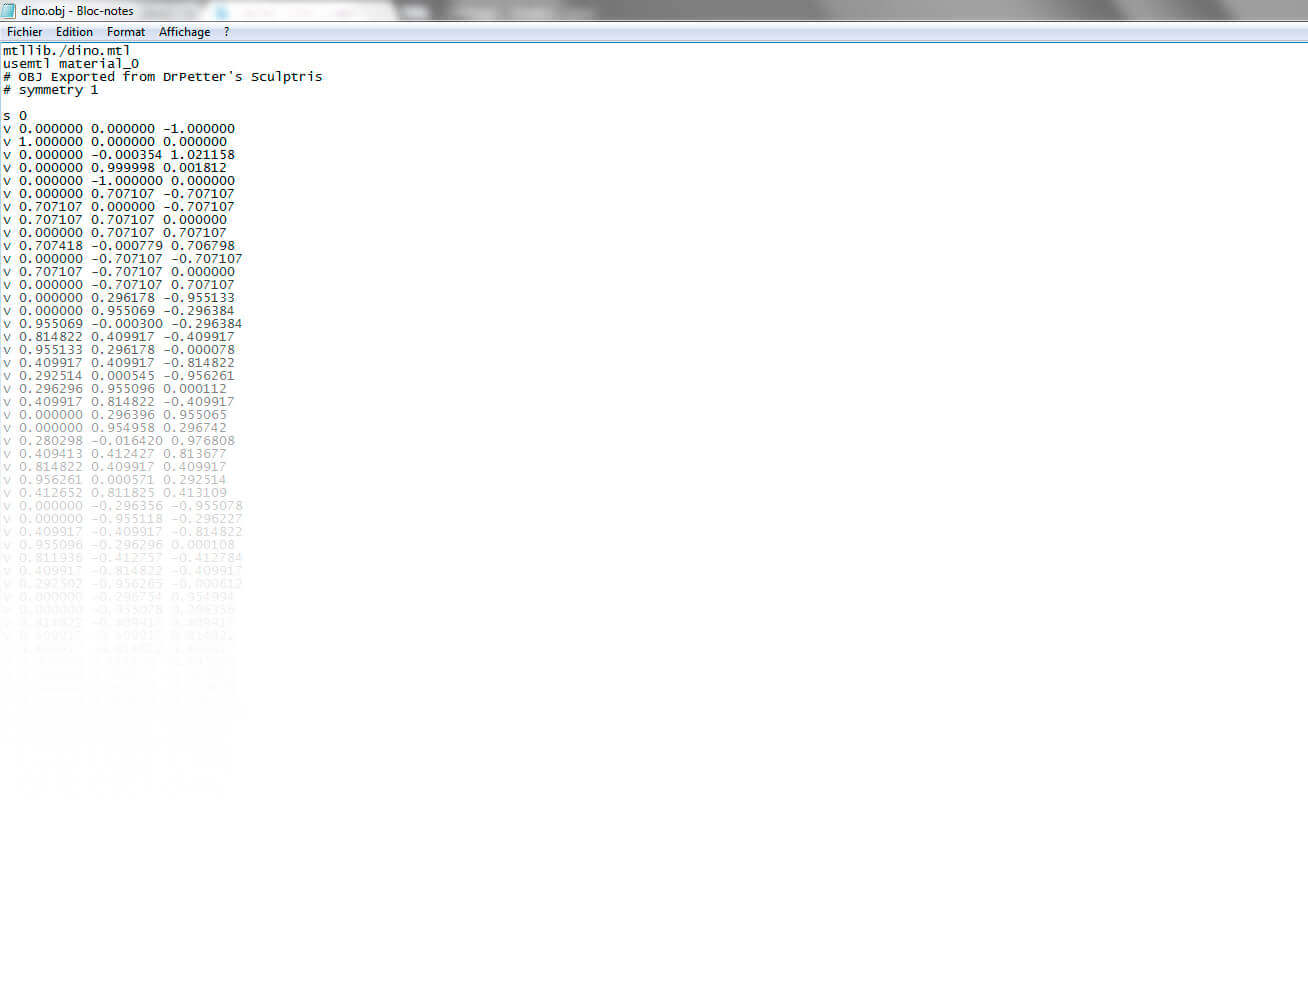
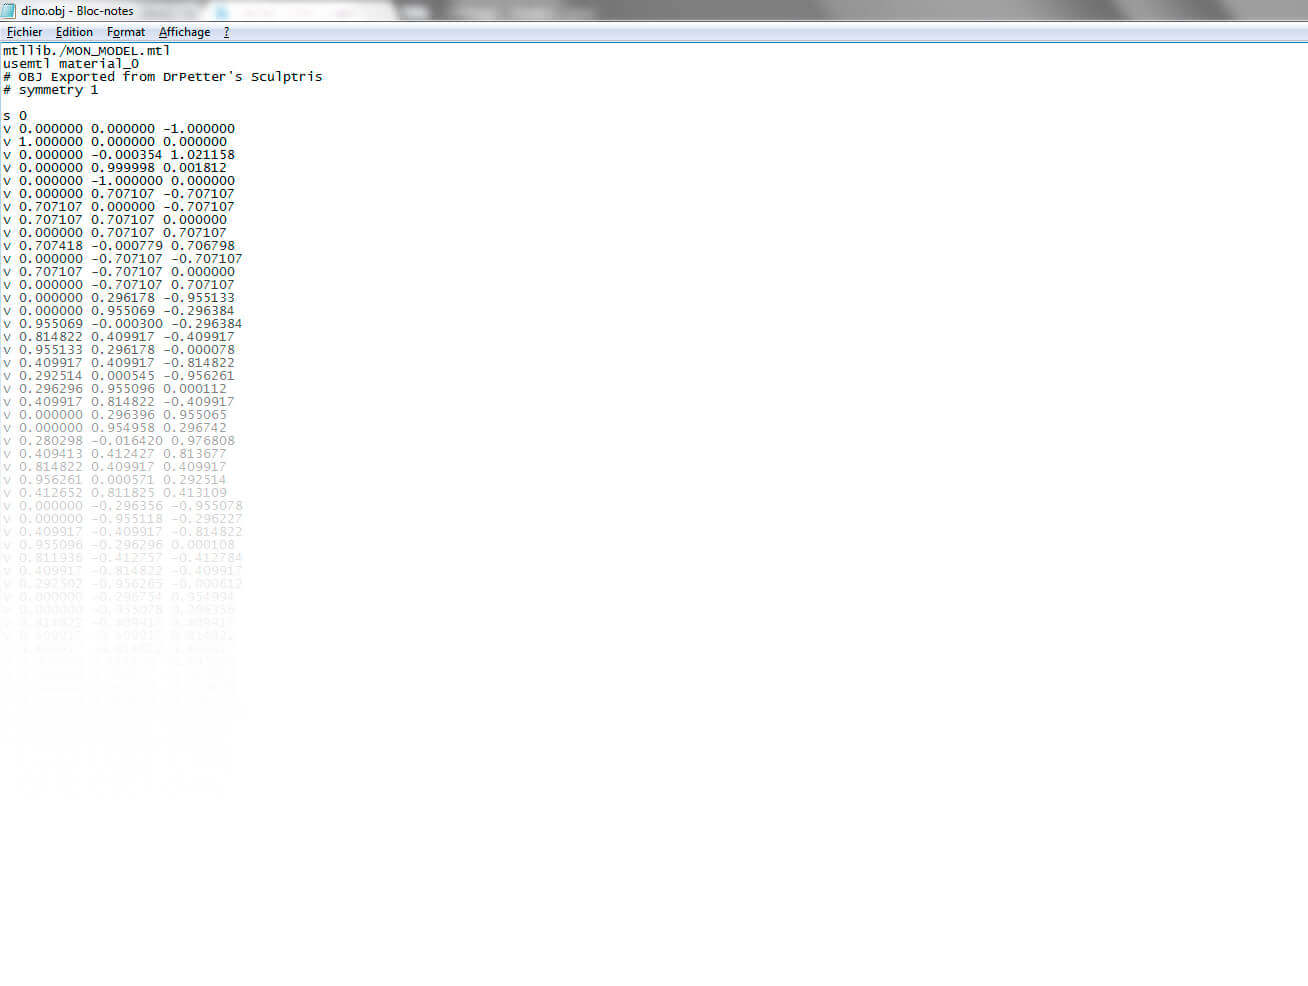 Then replace the first line “MA_MODEL” with the name that you used to name your file. In our case, we therefore “dino”. Once this is done, close the file.
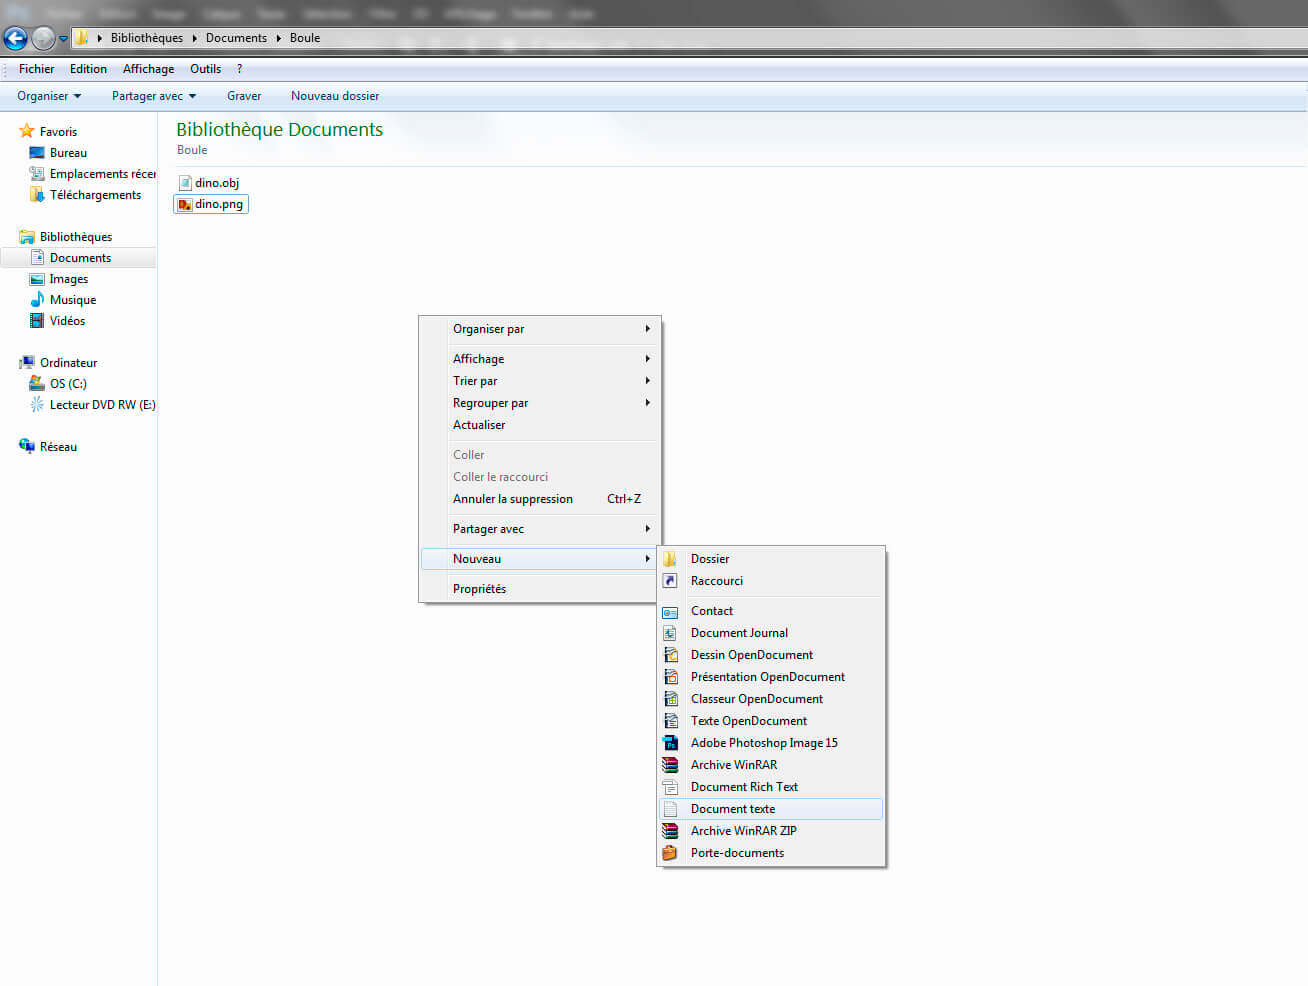
 Create a new text document will maintain the same name throughout the process. For us, it will be “dino.txt.” This will serve as our .mlt file, eventually.
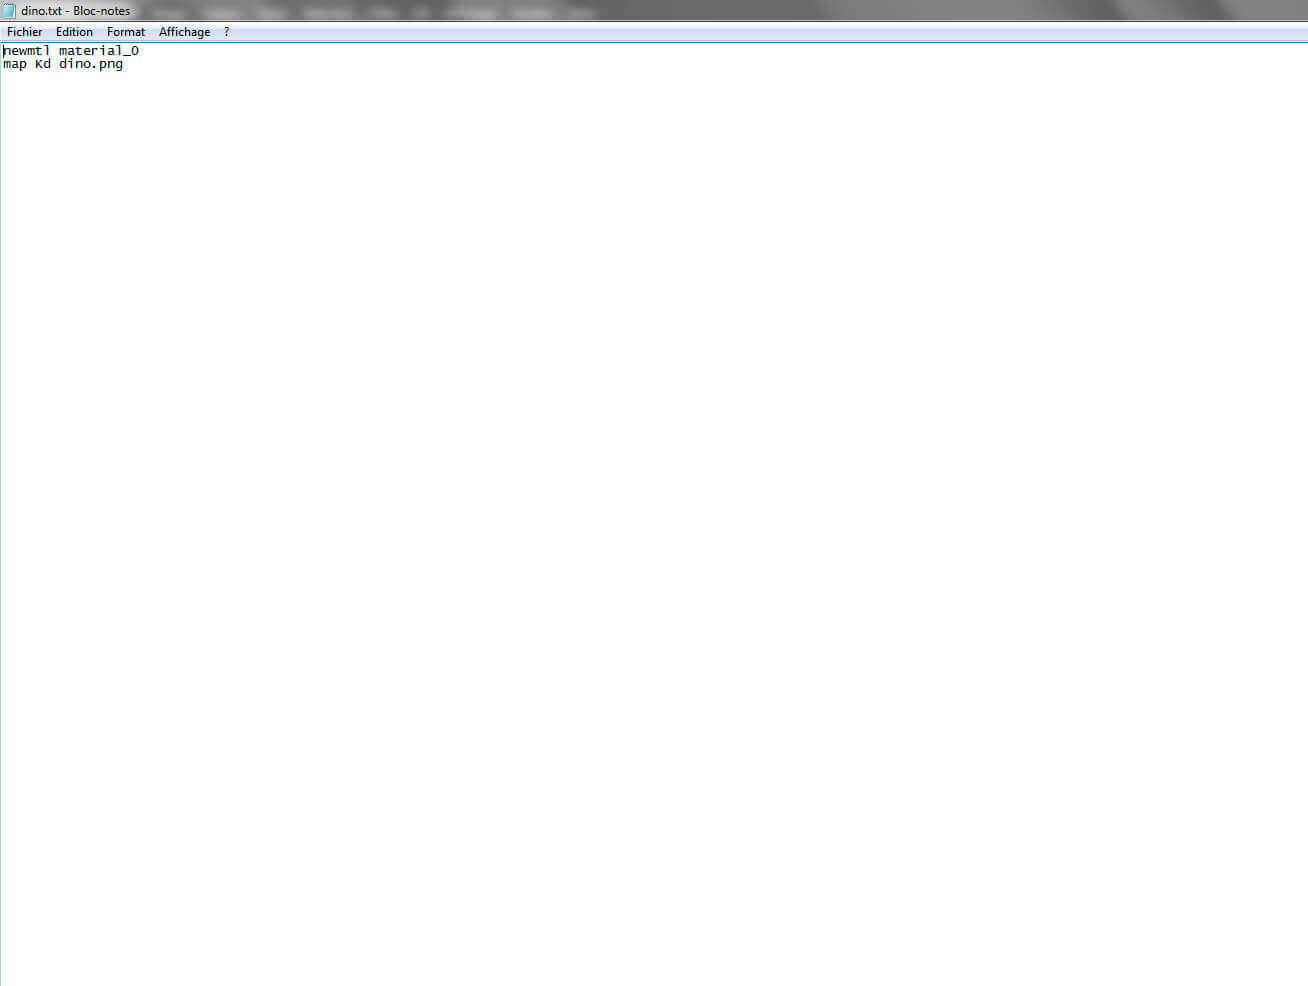
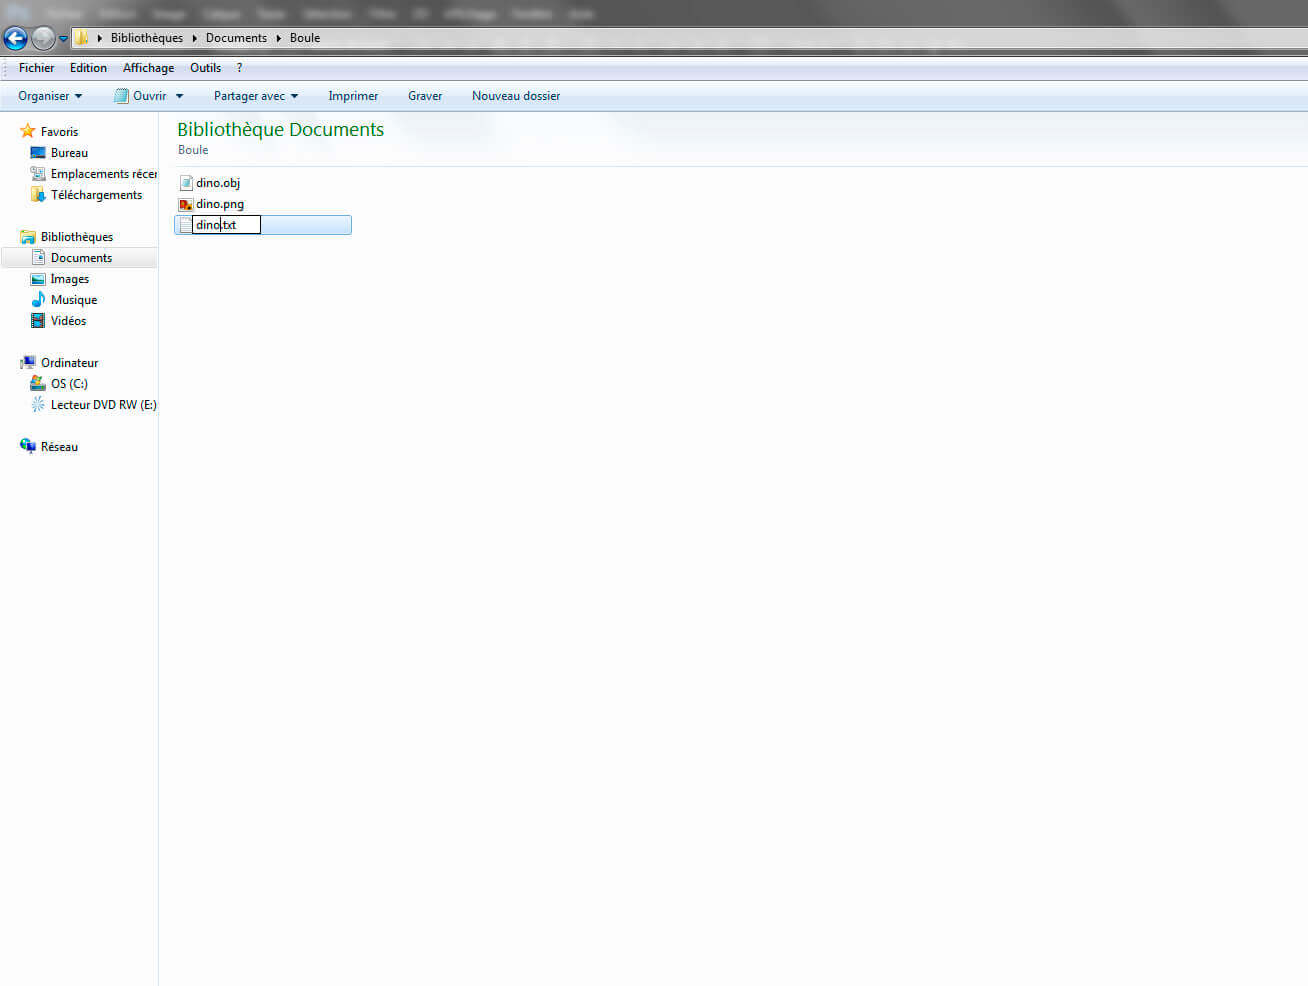 Open the text file and then copy the following lines: newmtl material_0 map Kd MY TEXTURE.png. Then, replace “MY TEXTURE” with the name you use. So in our case, substitute “dino”.
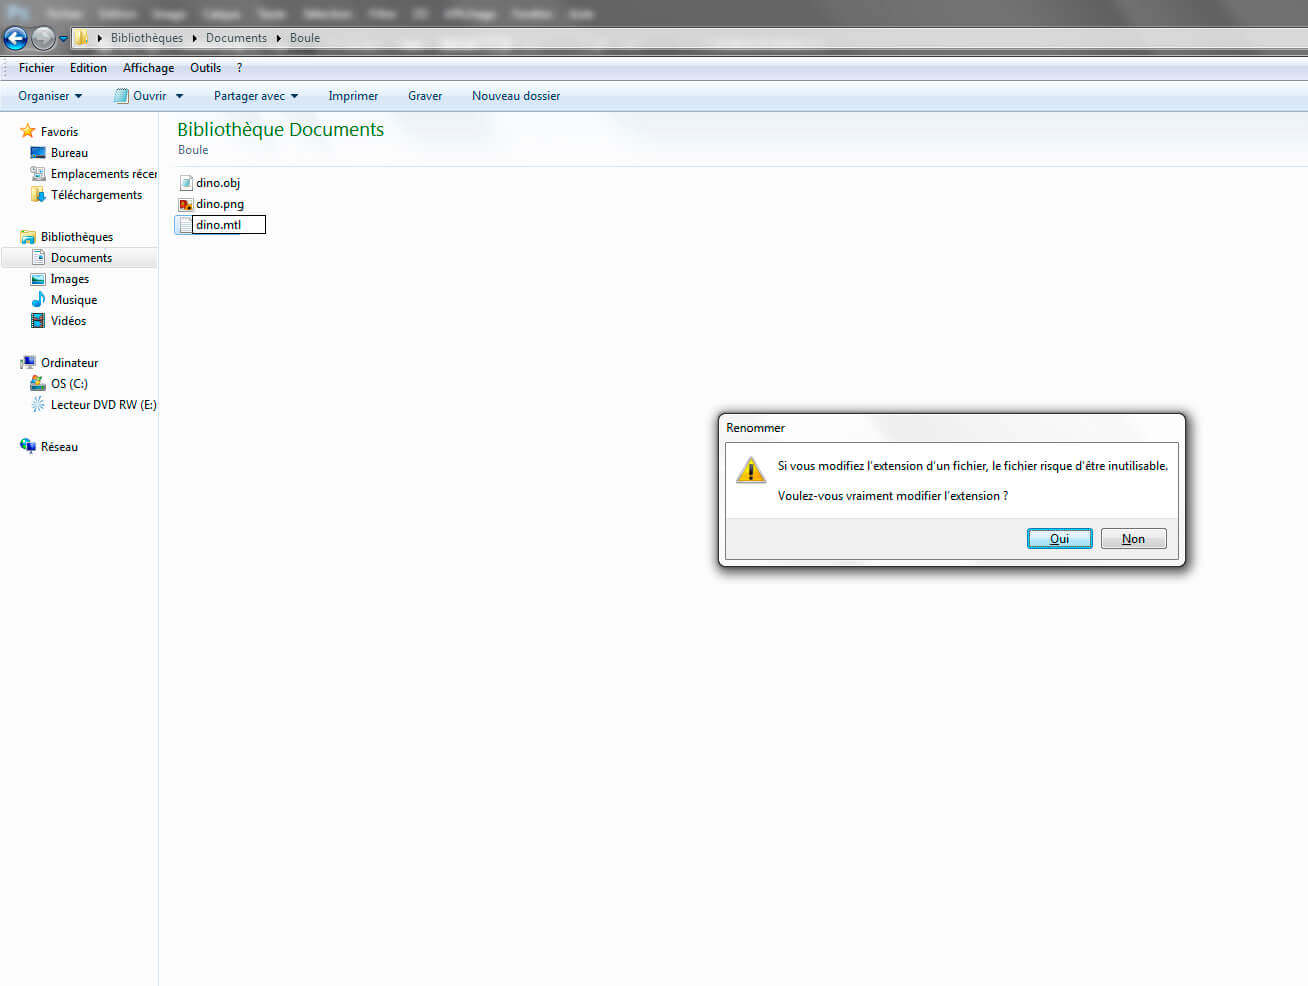
 Last step, change the extension from txt file to “.mlt.” After setting up your operating system to display the extensions, simply change the endings .txt .mlt like this:
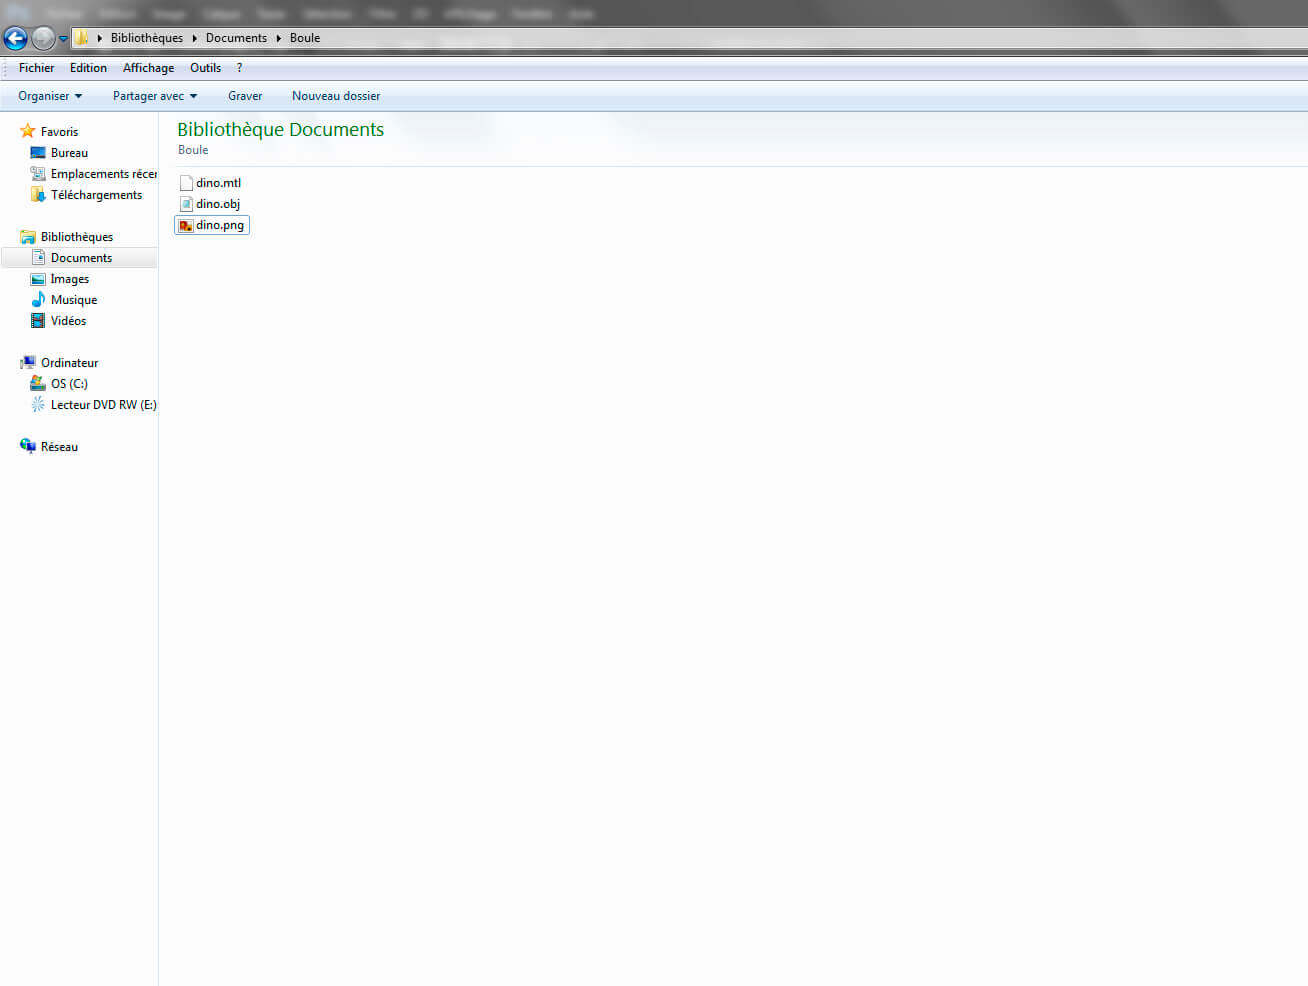 Your MLT file is ready.
To transfer your model on our site for a print, we need to upload all 3 of these files at the same time. For this, you need to compress them into a single .zip (or compressed) file.
Once your .zip created, you just have to upload it to Sculpteo! We’ll print it for you.
Avoid mistakes that occur when designing 3D files for 3D printing on Sculptris
Sculptris is not a pure modeling software but rather a sculpting software. It is very rare to create geometric inconsistencies or anomalies that could prevent 3D printing (holes, surfaces, edges or singular points / non-manifold, self- intersections, bad directions, etc.).
Possible issues could be that your model is too heavy (over 50MB / 400000 triangles), the scale is off (mm or cm), you’d like to hollow your model, or that it has a few structural errors.
In such cases, you can use Blender to make these changes to your model. Just export your .obj file as described above and import it into Blender. For more information on using Blender to correct your file for 3D printing, please see our tutorial Prepare your file for 3D printing with Blender.
For more information about mistakes to avoid and repair tools from Sculpteo, visit the page dedicated to the repairing of files for 3D printing .


 Connect with Google
 Connect with Facebook