Sketchup Tutorial: 3D Modeling for 3D printing with Sketchup

Summary​

1. Design a printable 3D file using Sketchup software

A model printed in 3D must obey the laws of statics to remain upright. You must avoid structural errors: excessive cantilever, elements too thin to support the weight of the object, etc. 
Also consider your desired material’s specifications when creating a printable model (minimum thickness, maximum size, resolution, etc.). You can find all of this information and modeling advice on materials in our materials modeling guide. To learn more about the materials we offer, please refer to our Materials page. 

Choose the Unit and Scale for Modeling

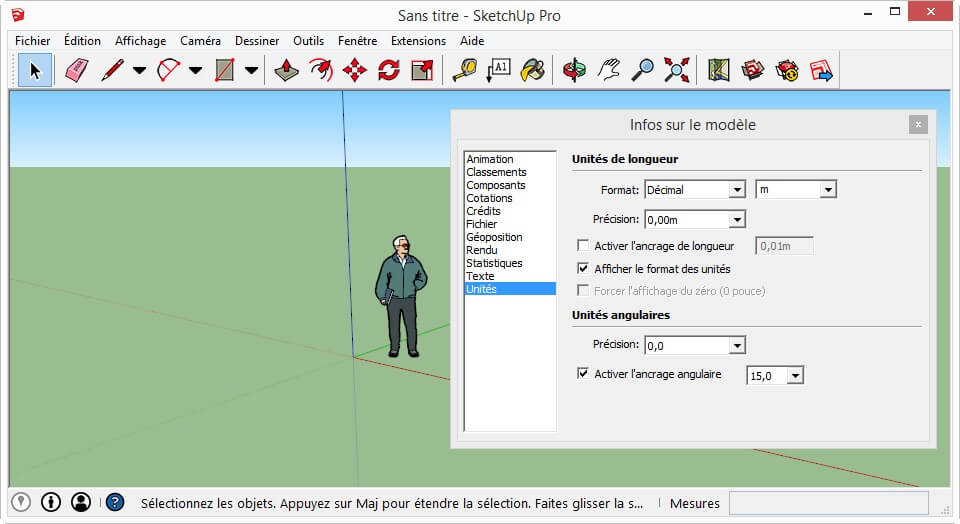
There is one critical thing to do before beginning to create a model – you must choose the unit you will use when drawing. To do so, go to the “Units” section of the “Model Info” dialogue box. We suggest that you model in millimeters.

Note: SketchUp does not manage elements smaller than 1 millimeter very well. If your object becomes more complex during modeling, it is unlikely that elements less than 1 mm will be generated. This will result in modeling anomalies. To avoid these pitfalls, we suggest that you design with a larger scale. For example, if you want to draw an object 100 mm wide, draw it with a width of 10,000 mm. You can resize it later by using the “Scale” tool or the “Tape Measure Tool”.

SketchUp-01-Choisir_l_unite_et_l_echelle_de_modelisation.jpg


Use SketchUp’s “3D Printing” Model

SketchUp also has a pre-set standard model adapted to 3D printing. You can select this standard model at the beginning of your session in the “Welcome to SketchUp” window.

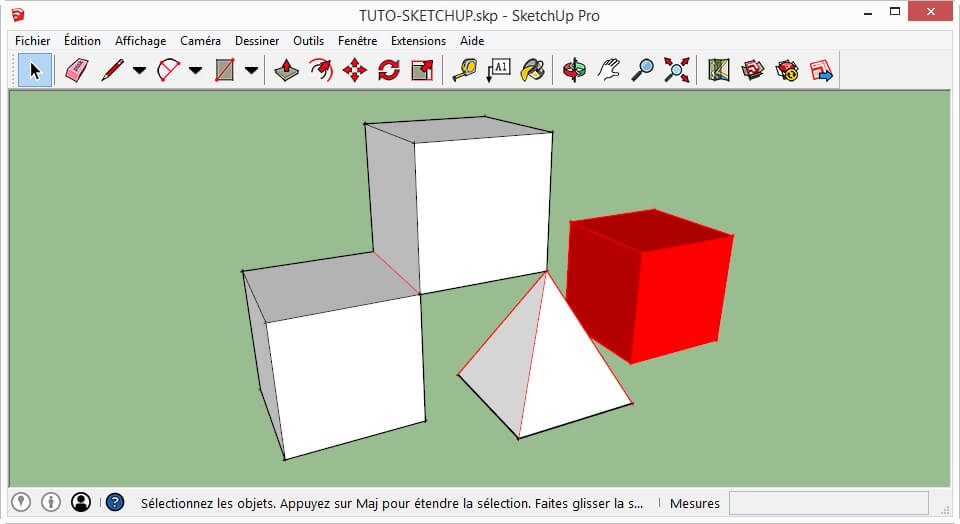
In SketchUp, objects are hollow and composed of faces (without thicknesses) which, when fused together, create volumes. These faces have a front (white by default) and a back (bluish by default).


Orient the Front Faces to the Model’s Exterior

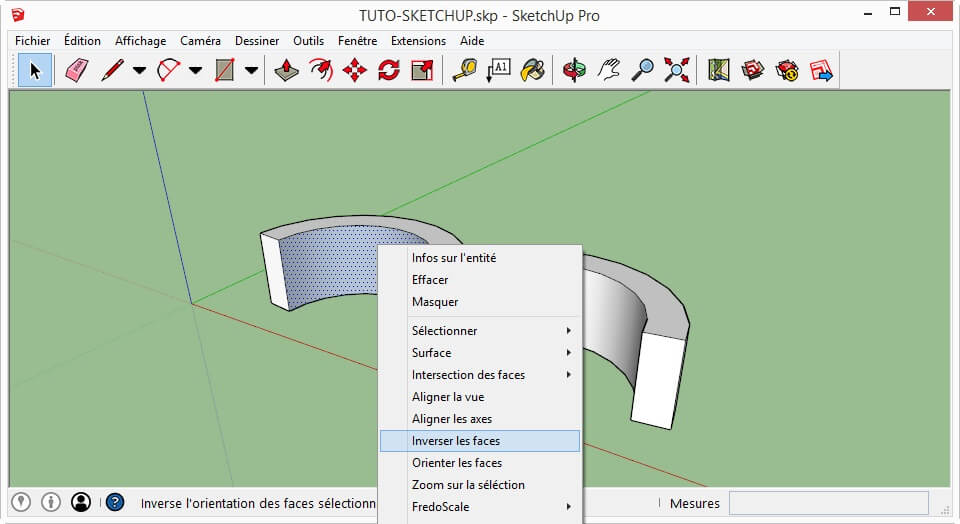
So that the 3D printer is able to determine the model’s interior and exterior borders, it is important to ensure these faces are properly oriented. To be printable, a model must have all of the front faces oriented visibly outward. For example, if you want to print a cube, its aspect must appear completely white and none of its faces should be bluish. To reverse the faces that are improperly oriented, select them, then right click and choose “Reverse faces”.

 
SketchUp-03-Orienter_les_faces_recto_vers_l_exterieur_du_modele.jpg
 

Modify the Display Mode to Simplify Viewing of Faces

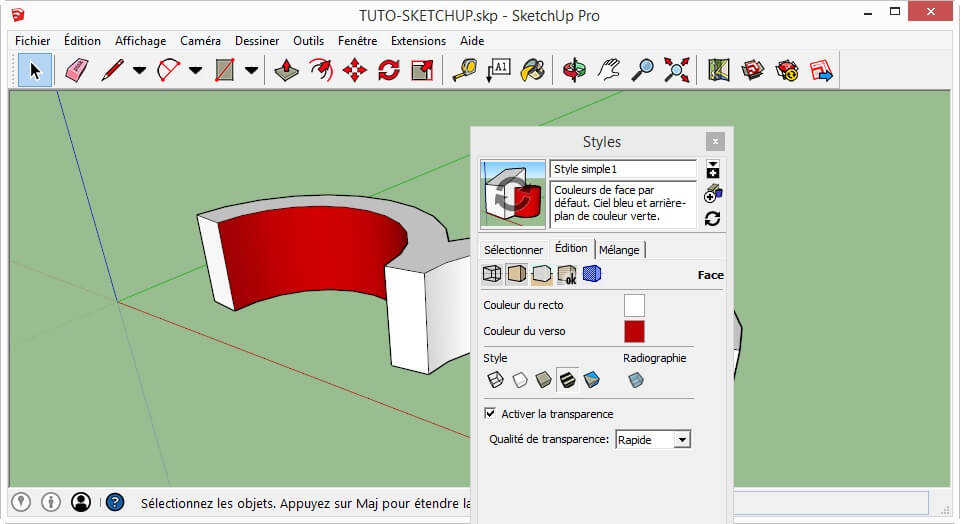
It may be difficult to view and distinguish the difference between white and bluish on the screen, especially when there are multiple faces. We suggest that you change your display mode so that the back faces display in yellow or bright red. To do so, you need to go into the “Face Settings” section of the “Styles” dialogue box.

SketchUp-04-Modifier_le_style_d_affichage_pour_simplifier_la_visualisation_des faces.jpg


View the Inside of Your Model

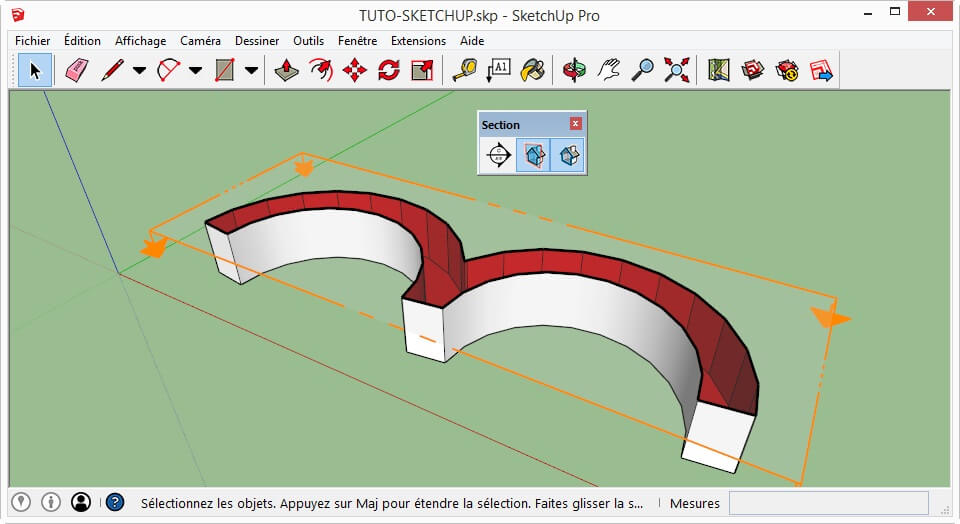
It may be difficult to view and reverse incorrect faces despite all of the techniques and precautions described above. For example, if you have drawn a tube with a 20mm diameter and a 5mm thickness, it would be complicated to modify the parts of the model located inside the tube. To fix this, we recommend using the “Section Plane” toolbar. It will enable you to see a cutaway view of your design while hiding all the elements located in front of the cutting plane.

SketchUp-05-Visualiser_l_interieur_de_votre_modele.jpg

Understanding the Concept of Solid

For a group to be considered as a solid in SketchUp:

  • It must form a completely closed volume, without holes and without missing sides, no matter how small
  • It must not contain any internal faces or a solitary edge

Nevertheless, even though your volume is a solid in SketchUp, it must meet two more conditions in order to be printed in 3D:

  • It must not contain any points, faces or non-manifold edges; a shared edge with more than 2 faces; a duplicate face juxtaposed with another; a shared point with faces and no shared edges are considered as non-manifold. 
  • It should not be made of 2 independent volumes separated by space 
 
SketchUp-06-Comprendre_la_notion_de_solide.jpg
 

Perform Operations on Solids

To quickly create volumes in SketchUp, you should first start with a 2D polygonal face. You can then add volume to this face by using the following two tools, respectively:

  • Push/Pull”: to create volume in a direction perpendicular to the face
  • Follow me”: to create volume following a path

Use this approach to quickly create simple shapes. From these, it is possible to make your model more complex. Simply draw a new polygon on one of the faces and perform another “Push/Pull” or “Follow me” operation.

When a volume is finished, you can make it a group (or a component). Create a component when an element needs to be copied many times in the model or when it will be reused later.
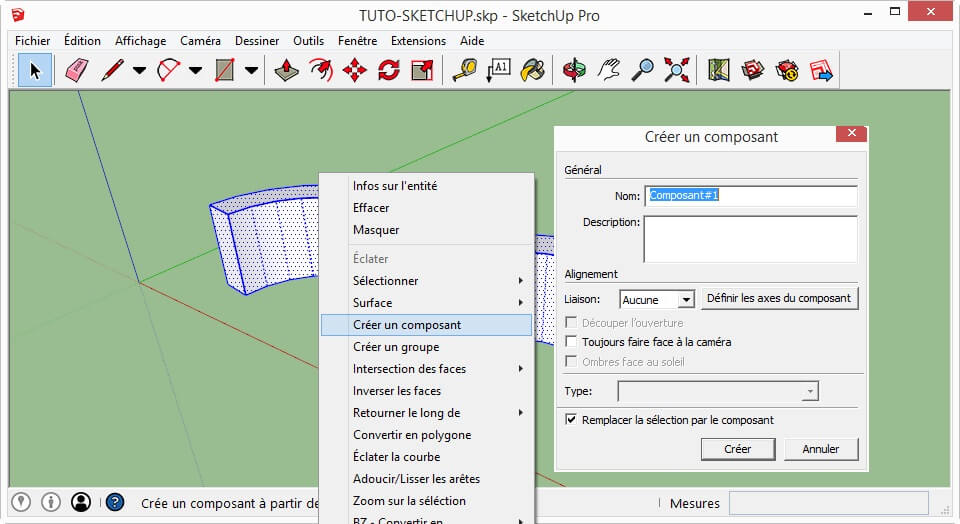

SketchUp-07-Effectuer_des_operations_sur_les_solides.jpg

To do so, select all of the elements, right click on the selection and choose “Make Group”. 
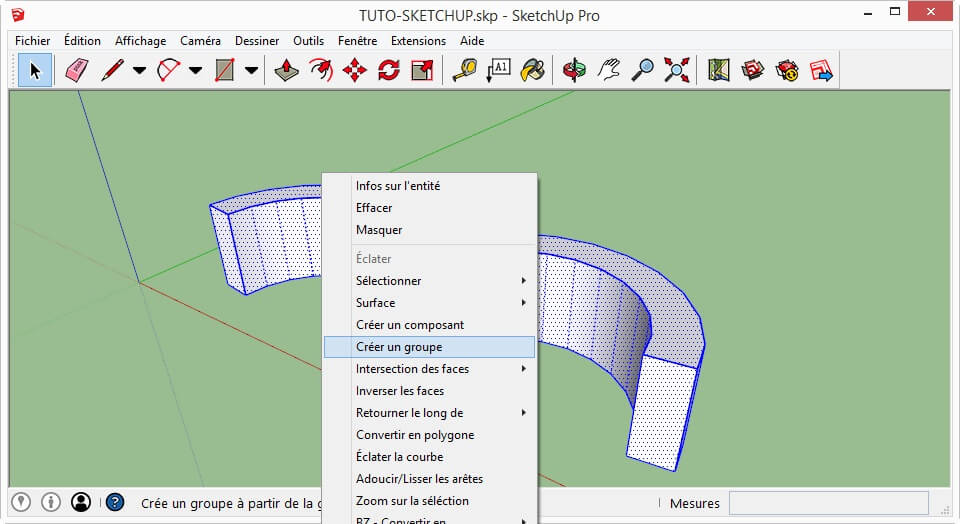
SketchUp-08-Effectuer_des_operations_sur_les_solides.jpg

Many distinct solids can be added between them using the “Outer Shell” tool from the “Solid Tools” toolbar. You need to have the Pro version to perform other operations (intersection, subtraction, etc.).
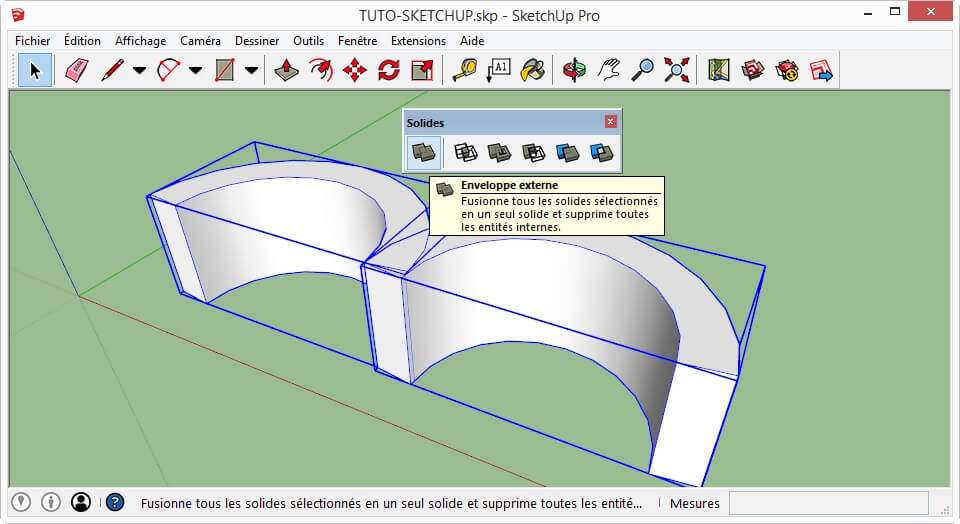
SketchUp-09-Effectuer_des_operations_sur_les_solides.jpg


Check if an Element is Solid

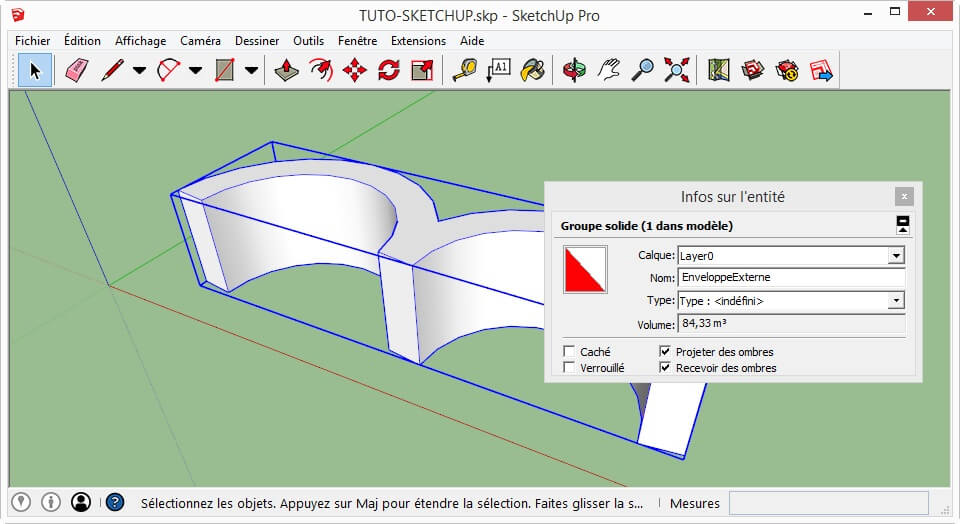
To print properly, these groups or components must form a solid. To check that an element is a solid, select it and activate the “Entity Info” dialogue box . “Solid Group” must be indicated. If this is not the case, enter the group to correct it. 
 
SketchUp-010-Verifier_qu_un_element_est_solide.jpg
 

Use the CleanUp³ plugin to clean a non-solid group of its undesirable elements.

To view the errors contained in a non-solid group, you can use the Solid Inspector plugin. To correct them, use SolidSolver.

Use of these plugins will be explained in the “Analyze and Export Your 3D File” and “Correct the Most Common Errors” sections.

Complex modeling operations take time in SketchUp. It is also wise to optimize your work by adding plugins (or extensions). Most of these are free and some will increase your work capacity tenfold.


Find and Install the Right Plugins

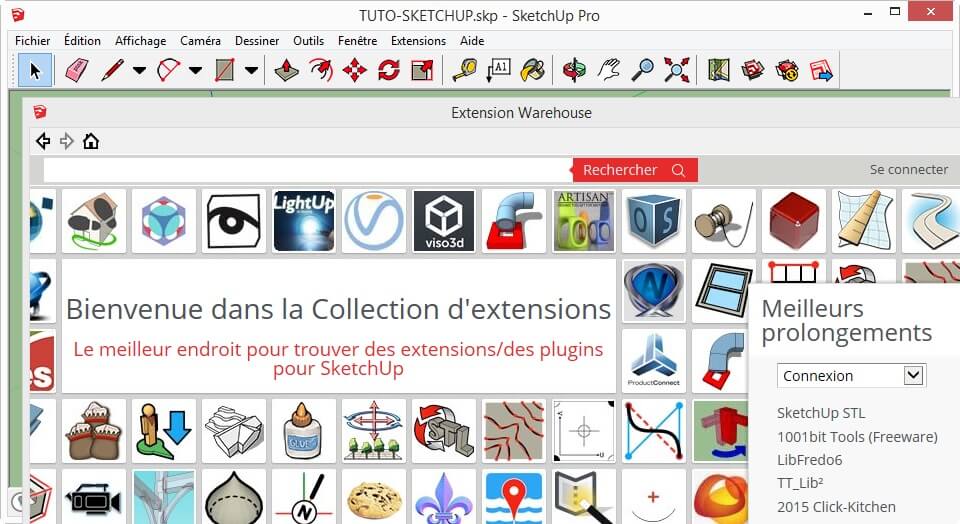
Plugins are available directly in SketchUp via the “Window – Extension Warehouse” (Window -Extension Warehouse). After logging in with your Google account, you can download and install them directly into the software.

SketchUp-011-Trouver_et_installer_les_bons_plugins.jpg

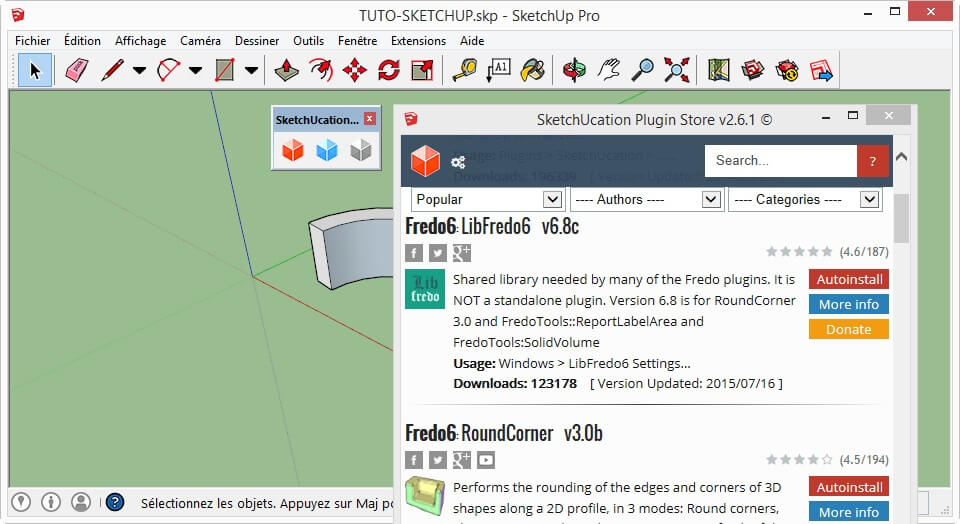
You can also find plugins in the SketchUcation Plugin Store . This site allows for you to create a free account and to then to download the SketchUcation Plugin Store toolbar from which you can choose and download your plugins.

SketchUp-012-Trouver_et_installer_les_bons_plugins.jpg

The table below contains a list of plugins as well as their type of use.


Name of Plugin

Authors

Use

FrontFace

Tomasz Marek

Reverse the faces of the model

Solid Inspector

Thomthom

Check the model

SolidSolver

TIG

Correct the model

CleanUp³

Thomthom

Clean the model

Selection Toys

Thomthom

Optimize the selection

Round Corner

Fredo06

Smooth the angles

JointPushPull

Fredo06

Empty the model

Curviloft

Fredo06

Create organic shapes

SketchUp STL

SketchUp Team

Import and export in STL format


Smooth the Angles

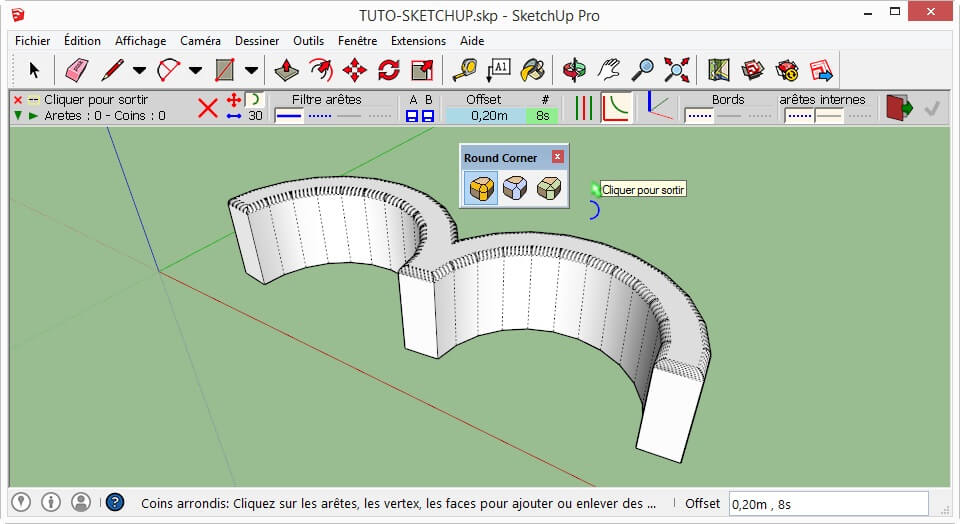
Models with very sharp angles may be fragile and easily broken. The “Round Corner” plugin, which smooths angles in a few clicks, solves this problem. Select the faces to chamfer, then click on the applicable kind of chamfer and configure it.

SketchUp-013-Arrondir_les_angles.jpg


Hollow Out Your 3D Model

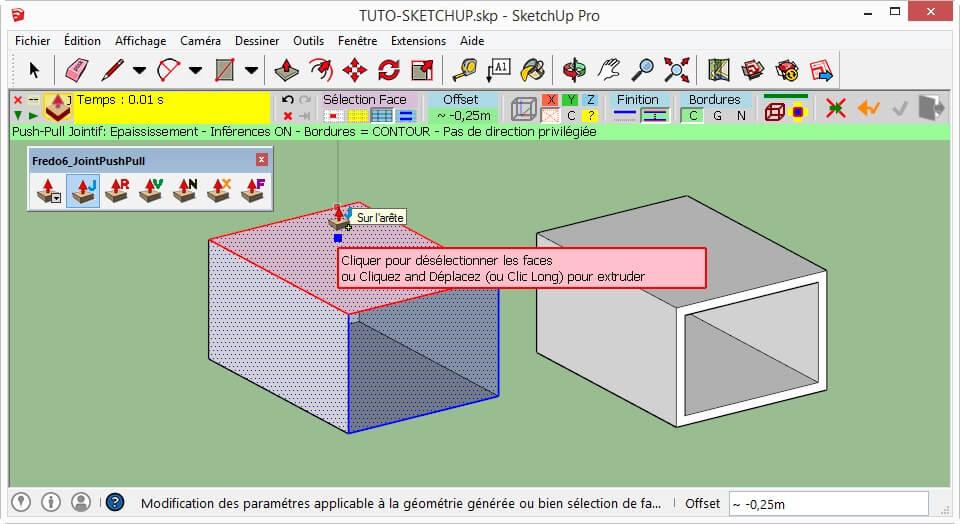
The “JointPushPull” plugin allows you to empty your model by doubling its surface to obtain a thickness. Select the faces to double, then click on the applicable kind of chamfer and configure it. Then click and hold on the selection.

SketchUp-014-Evider_votre_modele_3D.jpg

Note: you can also hollow out your model after uploading it to Sculpteo by using ouroptimization tools. To learn more about this, please refer to the page explaining our online optimization tools.


Check and Correct Your 3D Model

Using the “SketchUp STL”, “Solid Inspector”, “Solid Solver”, “FrontFace” and “CleanUp 3” plugins will be explained further in the “Analyze and Export Your 3D File” and “Correct 

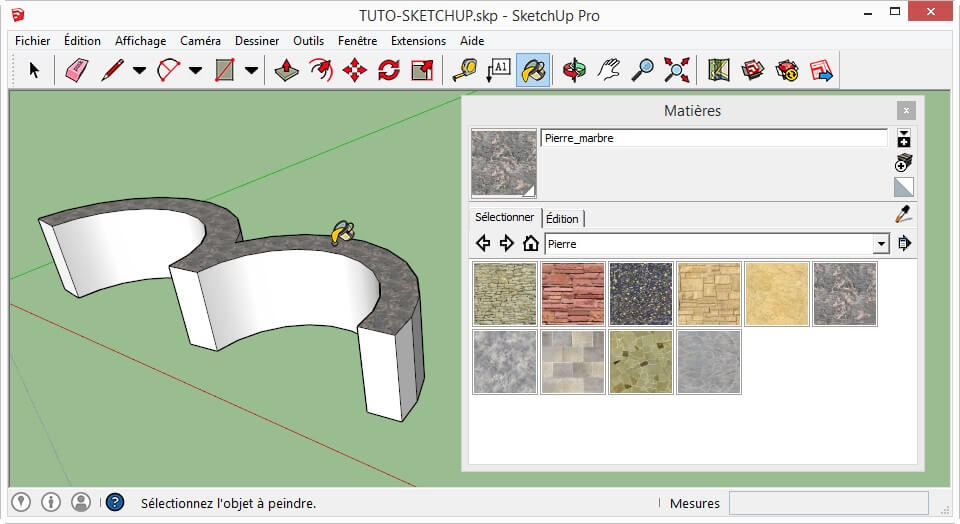
When your model is a solid group, you can apply colors and textures to it using the “Materials” dialogue box.

SketchUp-015-Colorer_votre_modele_3D.jpg

The colors and textures created will be printed in 3D according to their aspect in the SketchUp model (provided you select a material appropriate for multicolor 3D printing). To learn more about the materials we offer, please refer to our Materials page.

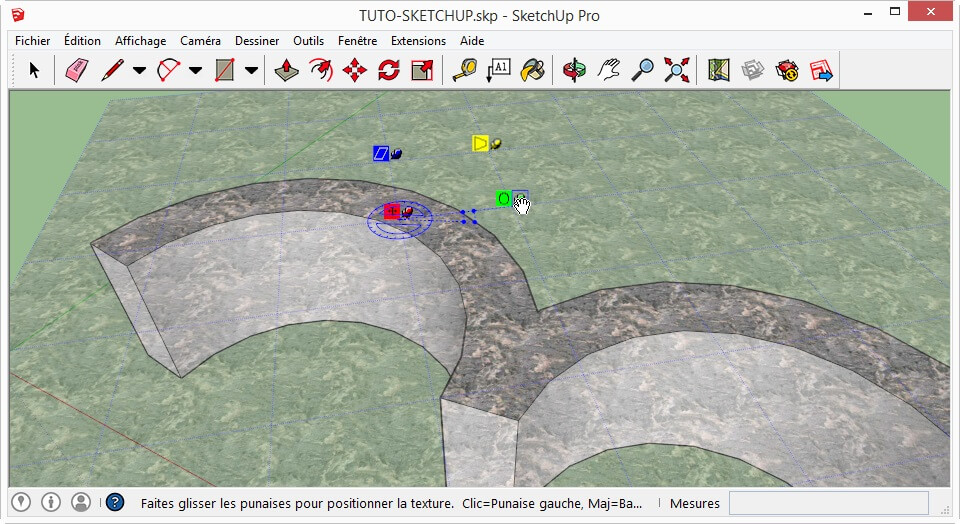
Please note that some effects created in SketchUp will not print in 3D. For example, by right clicking on a texture, you will access the “Texture-Position” menu that allows you to distort the texture using thumbtacks. Performing this operation will produce an effect that cannot be reproduced with 3D printing.

SketchUp-016-Colorer_votre_modele_3D.jpg