Laser Cutting with Slicer for Fusion 360: Prepare your 3D model for Laser Cutting

After having selected the slicing technique that meets your needs, you are almost ready for laser cutting your model! 

Summary​

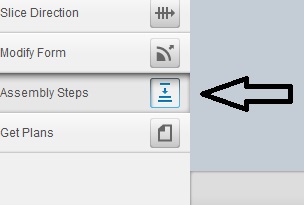
Select “Assembly Steps” on the left side of the menu. This option enables you to see step by step how you will assemble the 2D parts that you will laser cut in order to create a 3D model out of them.

41_hChRKS4.jpg

You can view the assembly steps in any construction technique. Though, for this example we set the “Construction technique” back to the “Interlocked Slices” one as indicated in paragraph 1.4. At the bottom of the menu there are a progress bar and some arrows.

Webp.net-resizeimage (3)_Edx5NTq.jpg

They indicate the progress of the assembly process. By clicking on the arrow, you progress one step at the time.

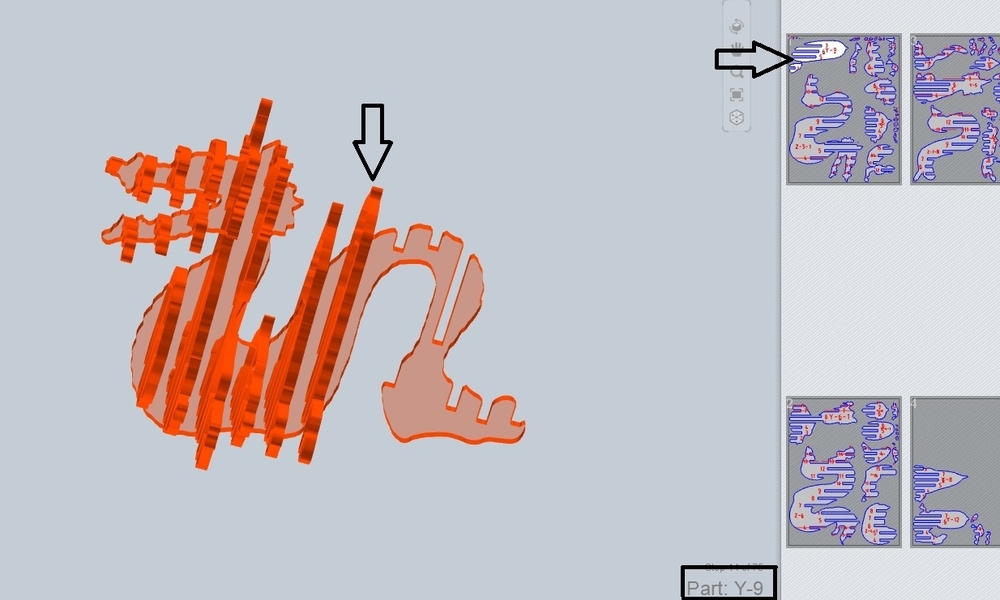
The procedure of the assembly of the 2D parts is dynamically changing. This means that, as you progress and you add more slices step by step, you get additional information. Depending on at what step you are, the part and the sheet that you are currently using are indicated. The pictures below show all these connected information. 

Webp.net-resizeimage (4)_keSYE5B.jpgWebp.net-resizeimage_FybhdFD.jpg

With “Slicer for Fusion 360” you can visualize you 3D model in three different materials, commonly used in Laser Cutting: Cardboard, Plywood and Plastic. To do that, go to “Assembly Steps”. Then, on the bottom of the menu select the material option you want.

41_hChRKS4.jpgWebp.net-resizeimage (2)_pjyantV.jpg

The “Cardboard” effect would look like this:

Webp.net-resizeimage (2)_yA9PLKT.jpg

If you select “Plywood” material you will get this:

Webp.net-resizeimage (3)_VrNBhWQ.jpg

The simulation with the “Plastic” material should look like this:

Webp.net-resizeimage (4)_myh24so.jpg